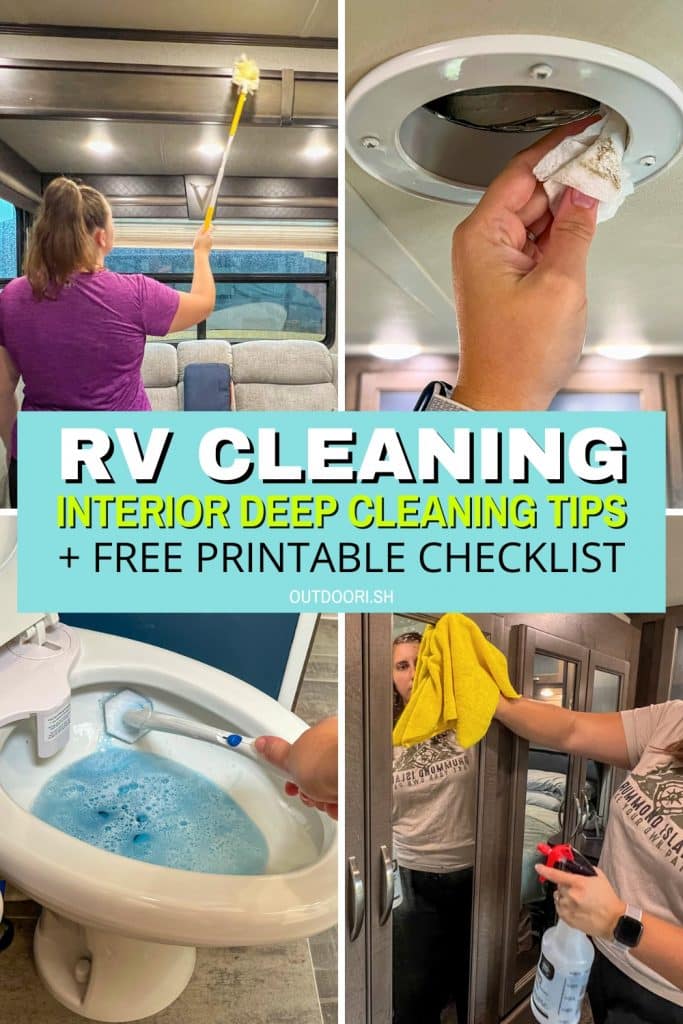
Clean RV Like a Pro – RV Interior Deep Cleaning Tips
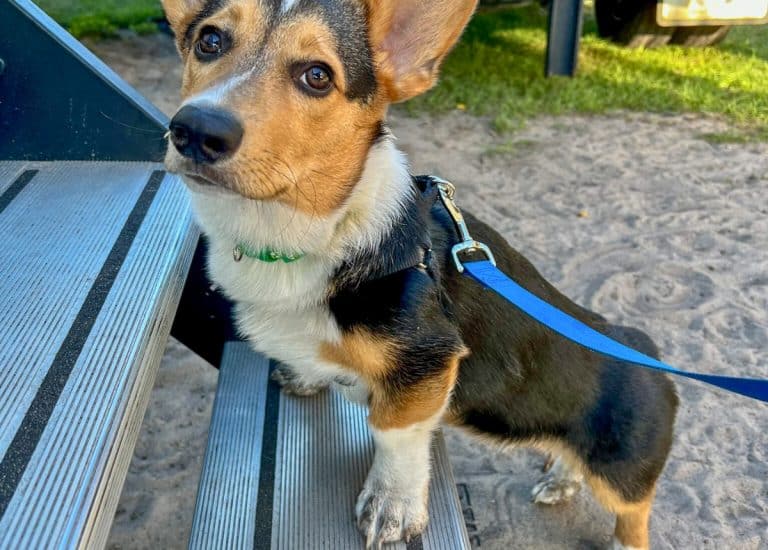
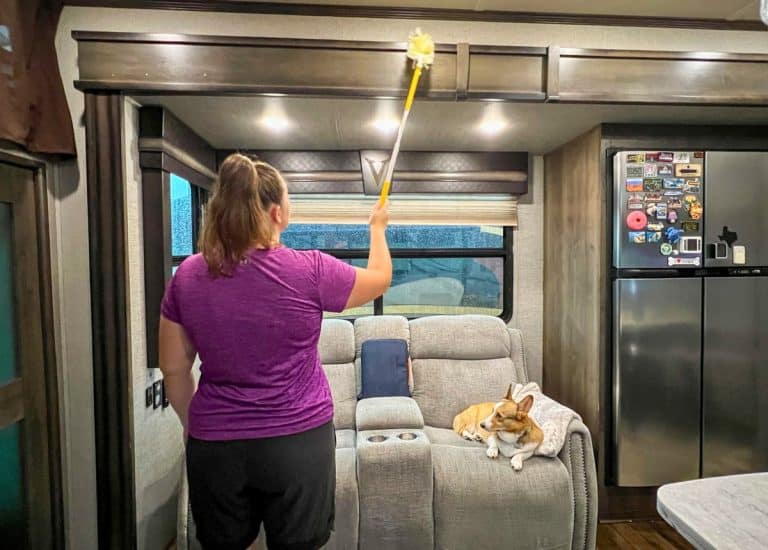
Keeping a clean RV demands attention and effort, given the confined space and constant foot traffic that accelerates the accumulation of dirt and messes. One look at the cute lil dirt covered paws in the picture below should give you a hint as to how our RV gets messy quick ha!
Although cleaning an RV is generally quicker than tackling a traditional house, the challenge lies in the numerous nooks and crannies that can easily be missed. Establishing a well-thought-out RV cleaning routine (including deep cleaning tasks) is the key to staying on top of regular maintenance and ensuring no area is left unattended.
This guide serves as your roadmap to effective RV cleaning, offering insights into essential supplies, practical cleaning tips, and a step-by-step process based on my firsthand experience as a full-time RVer living in a fifth wheel.
Keep in mind that adjustments may be needed based on your RV type and how often you use it. To streamline your cleaning efforts, I created an Interior RV Cleaning Checklist that you can customize to align with your cleaning needs!
Now, let’s dive into the detailed tasks and strategies that will keep your RV clean and welcoming for all your adventures on the road.
*This post contains affiliate links. As an Amazon Associate, I earn from qualifying purchases and may receive a small commission when you make a purchase using my links at no extra cost to you. Thanks for your support!
Table of Contents
RV Cleaning Supplies
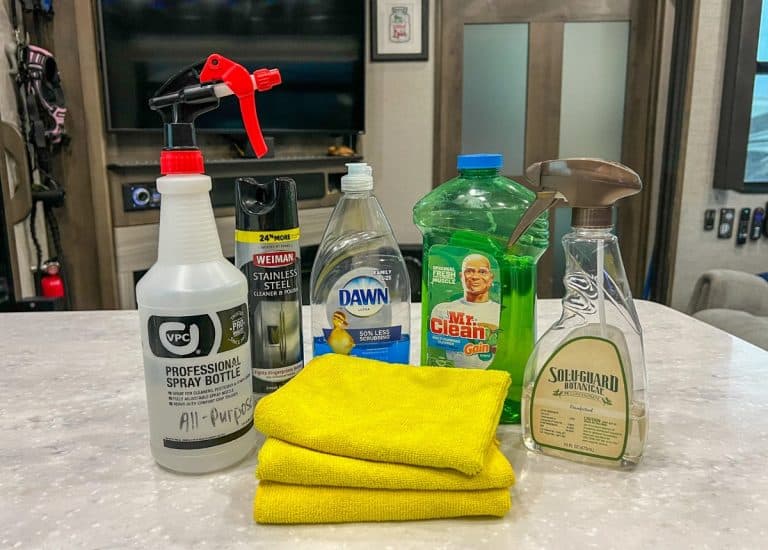
Before diving into the cleaning process, gather the following supplies:
- All-purpose cleaner (or vinegar mixture – equal parts water and vinegar)
- Disinfecting wipes or spray
- Spray bottle (if making your own all-purpose cleaner)
- Dish soap – Our favorite is Blue Dawn.
- Microfiber cloths/towels – Buy a variety pack with different colors to dedicate to specific rooms or tasks.
- Cordless or handheld vacuum – Our vacuum has a light that reveals hidden dust or hair I may have otherwise missed!
- Scrub brushes
- Toilet bowl cleaner and brush (read the bathroom section below for more info on what’s safe to use in an RV toilet)
- Dry/wet mop (like a Swiffer) or a spin mop and bucket
- Pet hair remover/detailer – We use the Lilly Brush to remove pet hair from our furniture, truck, and carpet that our vacuum doesn’t pickup.
- Duster
- Step ladder – If your RV has tall ceilings like ours does, you may need a step ladder. Otherwise, a small collapsible stool should work.
- Rubber and/or disposable gloves
- Paper towels
RV Cleaning Tips
Here are a few tips and things to consider before we get started:
- Always follow your manufacturer’s guidelines for RV cleaning. Various appliances may have separate manuals and instructions. You don’t want to scratch or damage any surfaces in your RV!
- Clean regularly to stay on top of the mess (snag my cleaning schedule checklist so no area of your RV gets overlooked).
- Pick up clutter before cleaning for a more efficient process.
- Work from top to bottom. Start with your ceilings and end with the floors.
- Keep an eye out for items that may need repaired or preventative maintenance performed (such as leaks, cracks, caulking) and make note of them.
- Simplify your cleaning products and use cleaners that can be used in multiple areas.
- Vinegar and water can clean almost anything! Combine equal parts vinegar and water into a spray bottle for a natural DIY all-purpose cleaner (Read up on which surfaces are appropriate to use vinegar on!). Alternatively, a teaspoon of dish soap and two cups of water combined in a spray bottle also makes an excellent all-purpose cleaner.
How to Clean RV Interiors
Ceiling, Vent Fans, and RV AC Filter
As mentioned in the section above, you’ll want to clean top to bottom. In each room of your RV, start with the ceilings, fans, and filters.
- Dust along the top where the wall and ceiling meet, valences, slide-out trim, and other surfaces. You can either use a duster or a damp microfiber cloth for this.
- Vacuum dust and dirt from the RV AC filter and vent fans.
- Clean the RV AC filter by removing and washing it with warm water and dish soap. Allow to air dry before placing back in the unit.

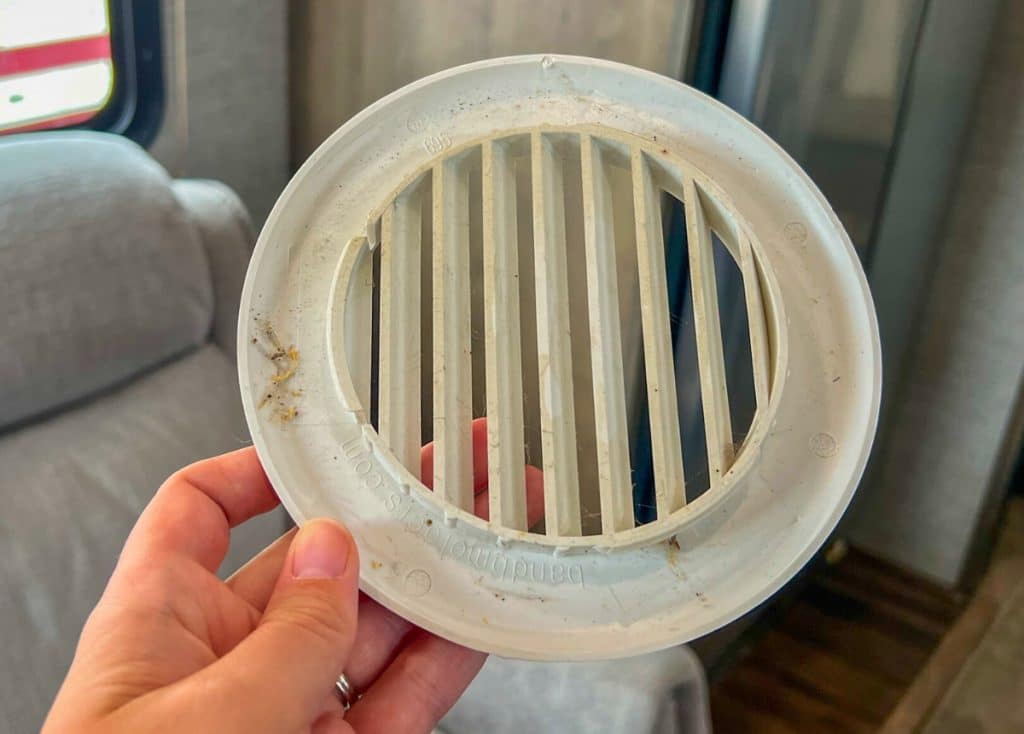
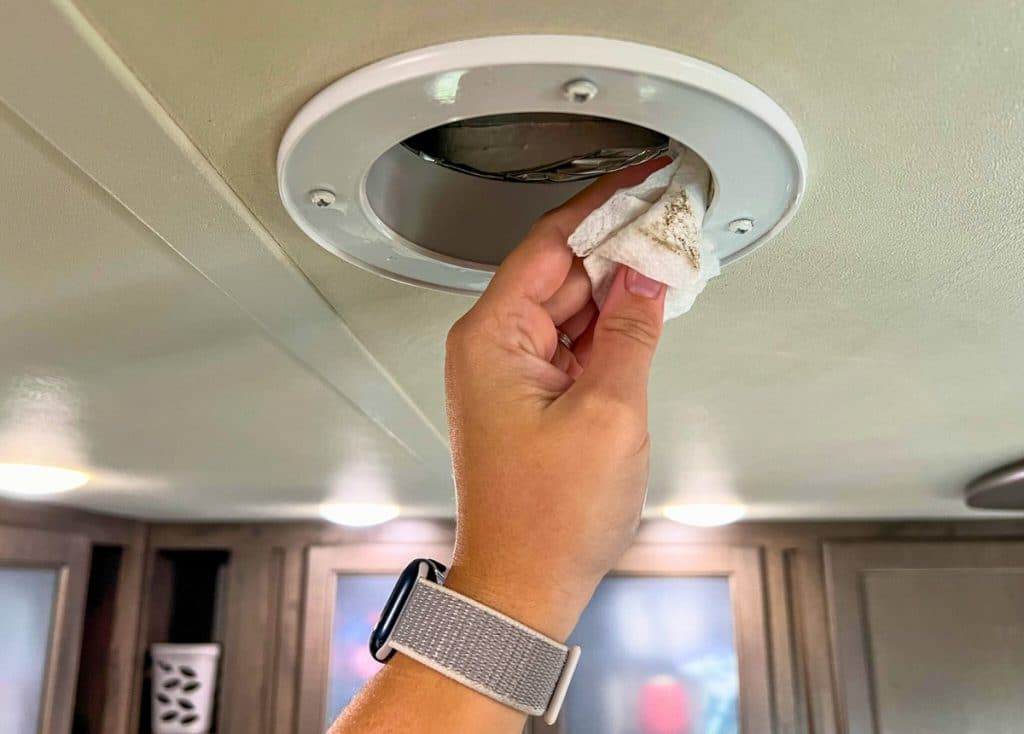
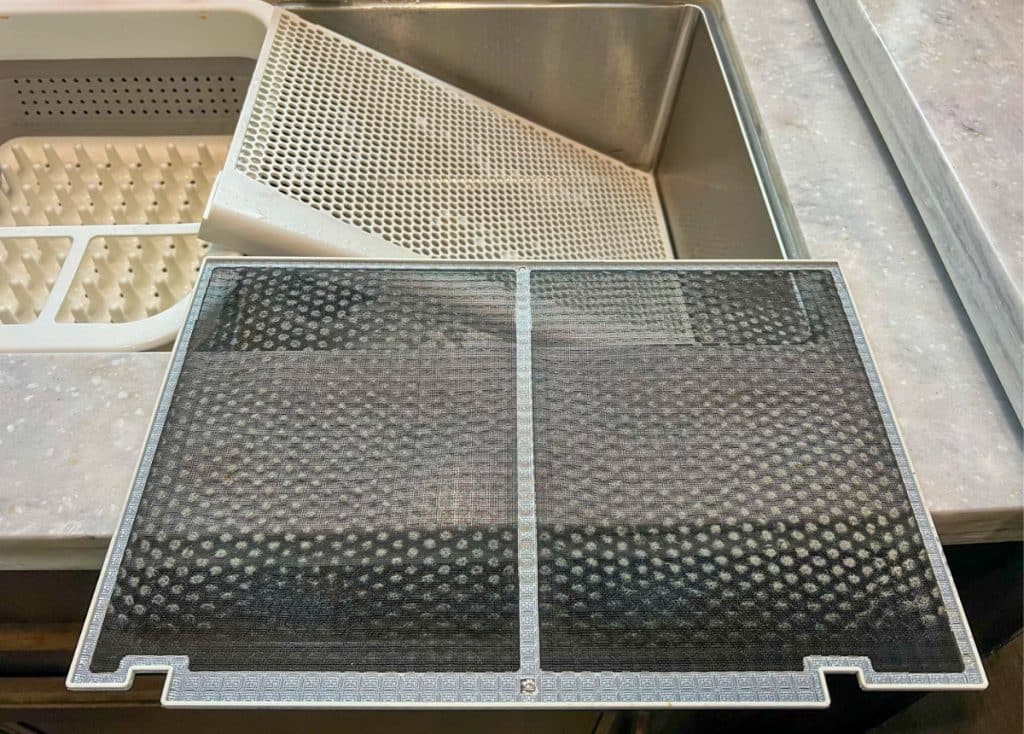
- Wash vent covers (the circular vents in the ceiling) and RV vent fans with warm soapy water.
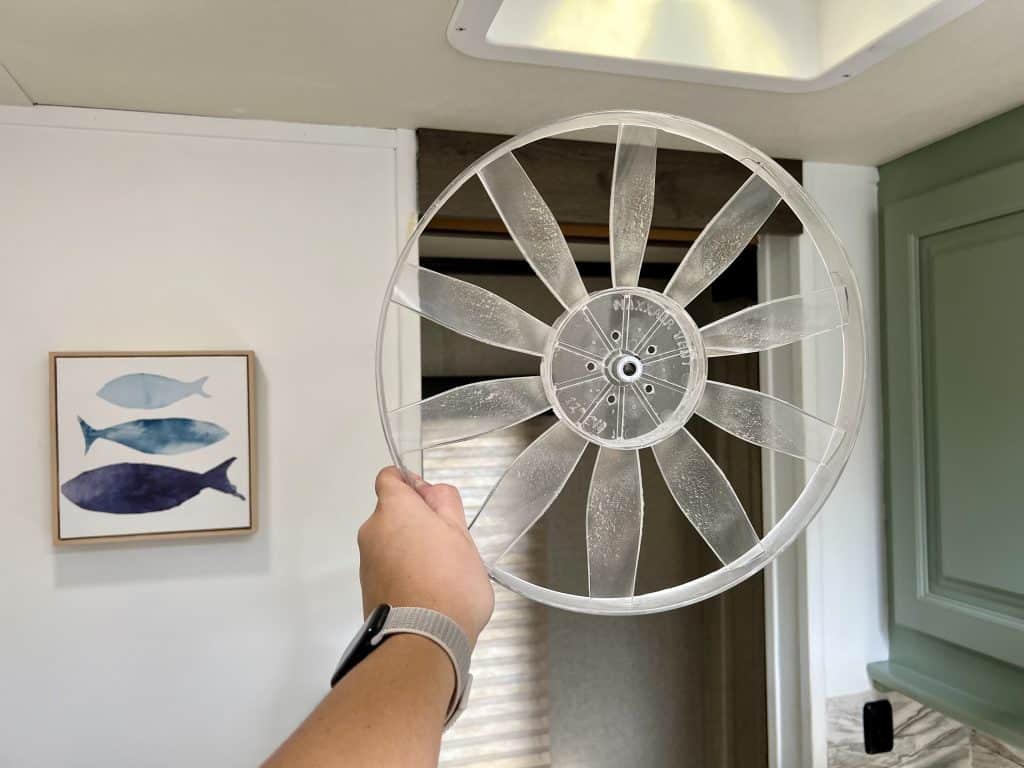
- Deep clean your RV vent fans 2-3 times a year and vacuum dust off the screen and fan blades regularly.
- Clean light fixtures and scrub any spots on the ceiling with soapy water and a cloth or scrub brush.
For an in depth look at how we clean our MaxxFan (a vent/exhaust fan) click here!

- ALL-IN-ONE VENTILATION SOLUTION: The Maxxair Maxxfan Deluxe combines a vent, fan, and vent cover into a single unit, providing a comprehensive solution for your RV’s ventilation needs.
- POWERFUL 10-SPEED FAN: Experience optimal temperature control with the powerful 10-speed reversible fan equipped with a thermostat. This advanced feature helps maintain a comfortable room temperature inside your RV at all times
- BUILT-IN RAIN PROTECTION: Enjoy peace of mind with the Maxxair Maxxfan Deluxe, which features a built-in rain cover that provides full-time protection, allowing you to use the fan while it’s raining or when driving, ensuring continuous ventilation in any weather.
- EASY MAINTENANCE: The Maxxair Maxxfan Deluxe is designed for user-friendly maintenance with an easy-to-remove interior insect screen that requires no tools. Keep your fan clean and functioning efficiently with minimal effort.
- DURABLE & RELIABLE: Built to last, this unit fits all standard 14″x14″ roof openings and is backed by a 2-year limited warranty and a lifetime limited warranty on the lid – a reliable choice for any RV.
Walls
- Use a microfiber cloth dipped in warm water with dish soap to clean the RV’s walls. Avoid using excessive water on the walls.
- Have a dry microfiber cloth handy to wipe the walls after they’ve been cleaned with soapy water.
- A magic eraser can help with stubborn scuffs (test on a small spot first because it can remove paint from your wall). I only use this for the most stubborn spots.
Window Screens, Ledges, Blinds, Curtains, and Valences
- Vacuum window screens regularly and remove them for a deeper clean. To clean screens, vacuum and then remove them. Wash the screens with warm soapy water. Allow them to dry and then put them back on.
- Wipe down ledges and tracks with a damp cloth and use compressed air to dislodge debris.
- Clean valences, vacuum or wipe down blinds, and wash curtains if applicable. Don’t forget to check for washing instructions for your curtains!
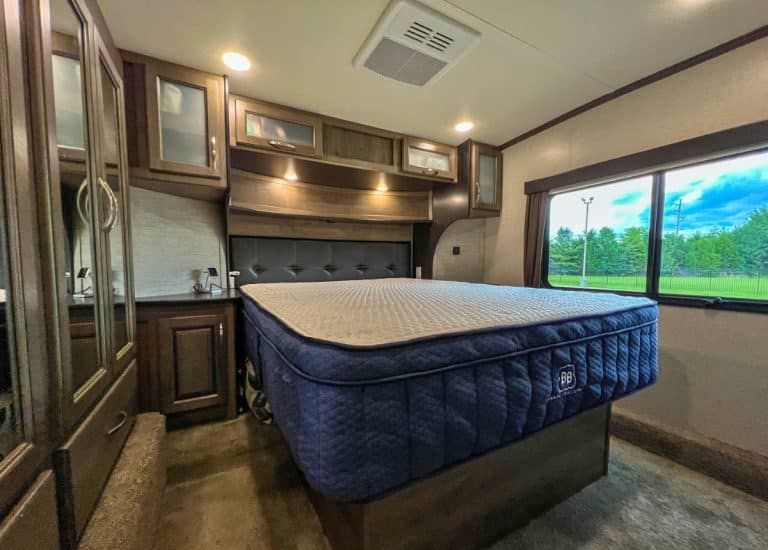
Bedroom
- Remove and wash bedding. If you have a mattress and/or pillow protectors, remove and wash these about every 1-2 months.
- Vacuum your RV mattress. You might be surprised how much dust and dead skin it sucks up – yuck!
- Remove clothing from closets and drawers. Vacuum them out and wipe the inside of your cabinets and drawers down. We typically do this when swapping out clothes for the season.
- Dust and remove smudges from the TV screen. Never use abrasive cleaners that could damage the screen. Use a high-quality, finely woven microfiber cloth to clean TV screens. Remember to dust behind the TV as well!
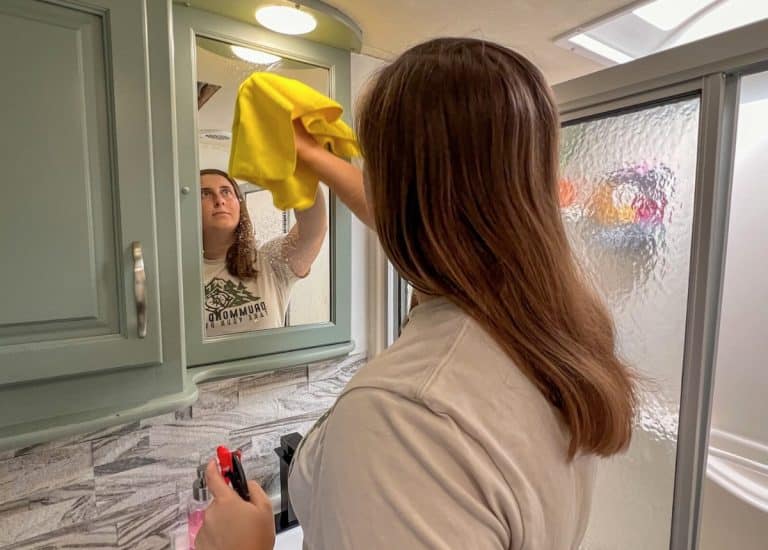
- Clean mirrors with a microfiber cloth and vinegar spray or glass cleaner of your choice.
Bathroom
- Wipe down all surfaces with an all-purpose spray and disinfect high-touch areas such as door handles, light switches, faucets, toilets, and sink counters. Don’t forget to wipe down your cabinet shelves too!
- While you can clean the shower with vinegar spray, sometimes it needs something a bit more powerful (check your manufacturer’s instructions for the type of RV shower you have). I prefer to use Scrubbing Bubbles foaming shower cleaner for hard water spots and cleaning the shower doors and tracks.
- To clean the shower door tracks, spray the cleaner of your choice and let it soak for a few minutes. Use an old toothbrush or purchase a specialty tool to scrub the tracks. Rinse with warm water and dry with a rag.
- To remove mineral deposits from faucets and the RV shower head, fill a plastic bag with white vinegar, submerge the shower head or faucet into the bag, and secure it with a rubber band. Let it soak overnight (or at least for a few hours). Use an old toothbrush to gently scrub over any residue, and rinse with cold water.
Pro Tip: To prevent mold and mildew, keep a vent fan running while you shower and store a small squeegee in your RV shower to wipe down the walls and shower doors when you’re finished.
Cleaning an RV Toilet
Cleaning an RV toilet bowl comes with extra considerations since the water flushes directly into a black water tank. Harsh chemicals like bleach may damage RV components.
Safe RV Toilet Cleaner Options:
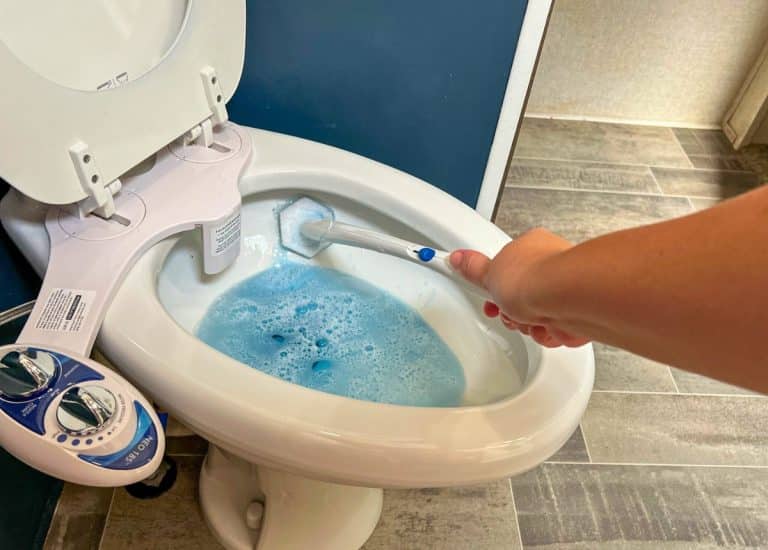
- Use a soft-bristle brush or a silicone toilet brush to avoid scratching, especially if your RV toilet is plastic.
- Vinegar and water come to the rescue again! The vinegar spray will effectively cut through grime and minerals while reducing the odor of urine. Spray some into the bowl and allow it to sit for a few minutes before scrubbing with a brush.
- Specialty RV toilet cleaners such as Unique Scrub-It RV Toilet Cleaner and Star Brite Toilet Bowl Cleaner are 100% safe to use in your RV toilet. The downside is that these are typically more expensive and will need to be ordered online.
- Admittedly, our Dometic Toilet has a ceramic bowl and we’ve used the Clorox ToiletWands (they do not contain bleach!) since we started full-time RVing in 2019. We’ve had no issues and I love how sanitary using and storing the wand is.
To clean an RV Toilet:
- Start by spraying down the outside of the toilet with a disinfecting spray. Wipe down with paper towels or a dedicated bathroom rag, ensuring both sides of the toilet seat and lid are clean.
- Next, clean the toilet bowl with your choice of cleaner. Rest your brush between the toilet rim and the toilet seat so it can drip dry into the toilet once you’re done cleaning the bowl.
- Regardless of which toilet cleaner you use, I highly suggest cleaning your toilet right before dumping your black tank so that any chemicals in the cleaner aren’t sitting in your tank for long.
- After dumping your black tank, drop in tank treatment. There are many options out there but we prefer using Happy Campers.
Kitchen
- Wipe down cabinets, drawers, walls, and backsplash using an all-purpose cleaner.
Pro Tip: Vinegar is a great cleaning option in the kitchen, especially when dealing with ants. Most ants dislike the strong scent of vinegar which is enough to repel them and mess with their scent trails. *It’s important to note that the vinegar isn’t strong enough to kill ants.
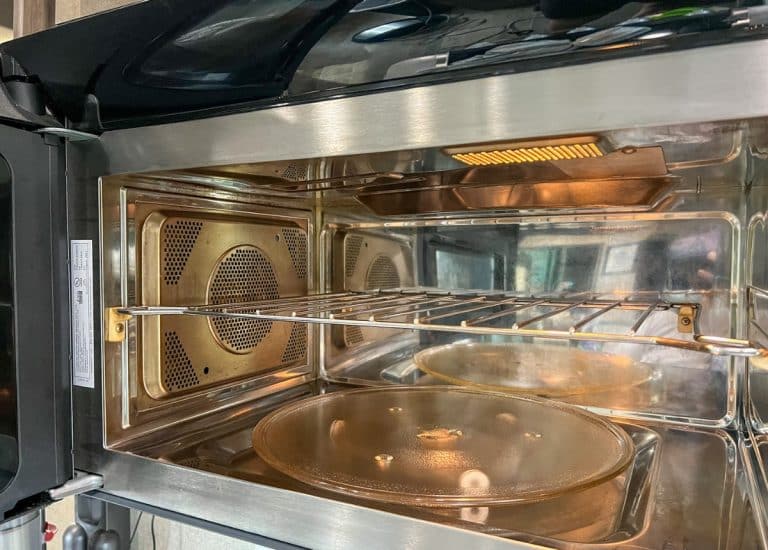
- To clean the microwave, loosen up stuck on food and splatter by microwaving a cup of water for about 10 minutes. Wipe clean with a cloth or paper towel.
- If you have an RV microwave convection oven, extra elbow grease may be required. I clean our convection oven with a steamer and sometimes a little degreaser to get it sparkling clean. Again, check the manufacturer’s manual to see which cleaners are safe to use in your unit.
- On the subject of microwaves, don’t forget to clean the surface on the underside of the microwave oven. You’ll also want to clean the grease filters about once a month, washing them with dish soap and water.
- To clean the area where crumbs and food fall under your stove, start by removing the oven grates. Next, flip back the glass cover and grip it close to the hinges. From here you’ll lift and the top should come off. Vacuum in this section and gently wash with warm soapy water and a scrub brush. Dry and put the top back in place. The stovetop and grates can be cleaned with warm soapy water. Watch this video to see how I remove the top of our Furrion stovetop to clean behind and underneath it.
- Clean inside the oven with warm soapy water and avoid abrasive cleaners. For food that is stuck or burnt on, you may use an oven cleaner and follow the instructions that come with it. Again, consult your manual to see what they suggest.
- Sanitize countertops and thoroughly clean the dinette or kitchen table and chairs.
- Defrost the fridge/freezer, wipe down shelves, and sanitize. If you’ve never defrosted your RV freezer, learn how here. For RV owners with residential refrigerators, you don’t need to worry about defrosting first and can skip straight to cleaning.
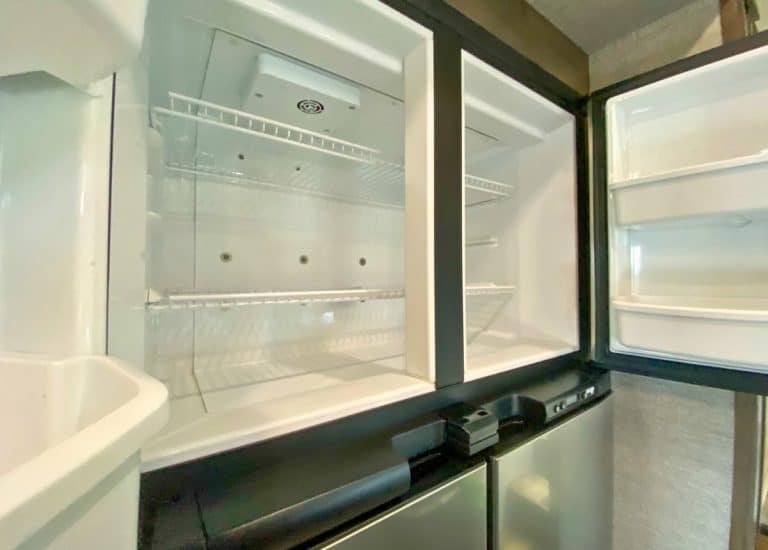
Pro Tip: When cleaning your refrigerator and freezer, check and test the seals for leakage. Shut the refrigerator door with a dollar bill stuck between the door and seal. Once the door is closed, pull the bill out to see if there is resistance. If there is little resistance, it’s likely the door doesn’t have a tight seal. This can cause air leakage, allowing hot air and moisture into the refrigerator.
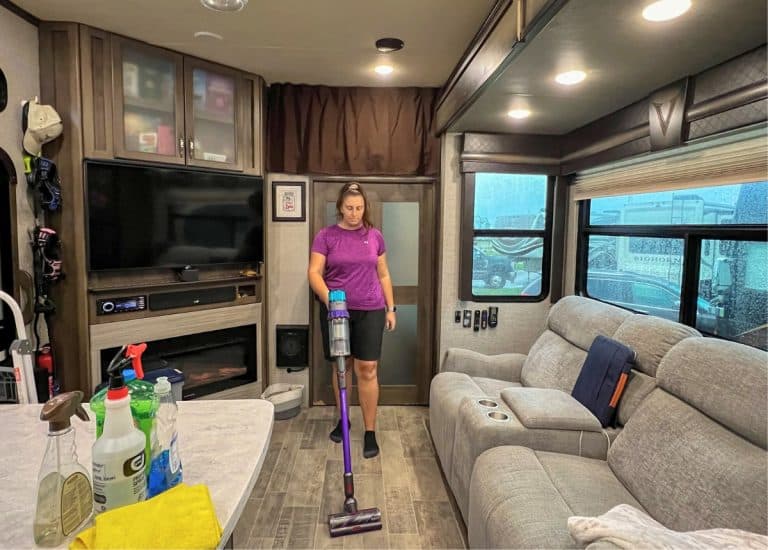
Living Room
- Wipe off cabinets, clean windows and walls, and dust the TV and entertainment system.
- For RV’s with pleather couches, dampen a cloth with warm soapy water and wipe down your couch.
- For RV’s with a fabric recliner or couch, vacuum the couch thoroughly getting in all the nooks and crannies.
- A pet hair detailer is a great addition to your cleaning arsenal if you RV with pets. We often use ours on our couch and for getting dog hair off the carpet in our truck. It’s become an essential RV pet accessory that we don’t know what we’d do without!
- Vacuum behind and underneath the couch as well. If your RV has a pull-out bed inside the couch, pull it out and clean that section too.
- Dust and remove smudges from the electric fireplace with a microfiber cloth and all-purpose cleaner or glass cleaner.
Clean Your Washer/Dryer
- Regularly clean the exterior and rubber parts with warm soapy water and a microfiber cloth.
- Remove the dispenser drawer for easy cleaning and wash with dish detergent and warm water.
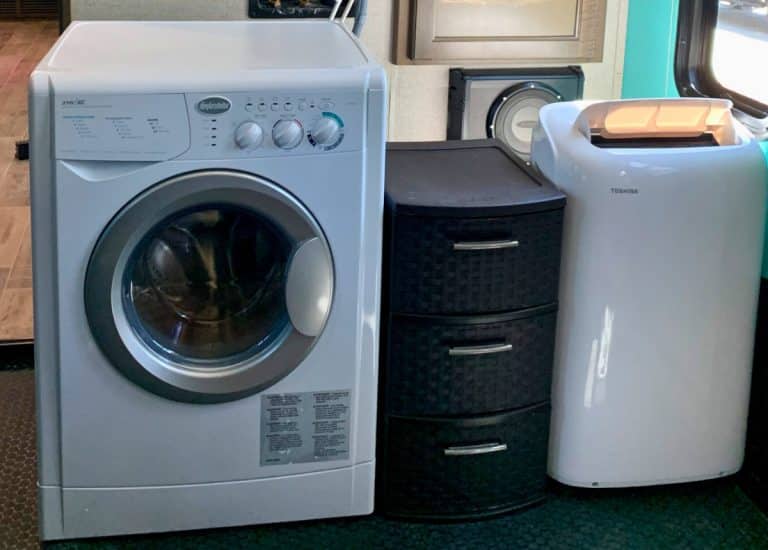
- Follow the manufacturer’s instructions for cleaning the interior. Our unit doesn’t require much maintenance beyond what has already been mentioned.
- Check and clean the dryer vent (located outside of your RV if you have a vented unit) regularly to ensure proper airflow.
Pro Tip: Leave the washer door cracked open when not in use to prevent unpleasant odors.
Floors
And last, but certainly not least is the floors!
- Vacuum the floors, including underneath slide-outs.
- Remove vent covers with a screwdriver from the floor and vacuum inside. Wipe them clean with a damp cloth and place the vent covers back on.
- Mop the floors using a cleaner suited to the type of flooring you have in your RV. I use either a steam mop or a Swiffer mop with a wet cloth.
- Deep clean carpets at least once a year. A portable carpet cleaner is nice to have handy, especially if you have pets or small children. It works great for spot cleaning or cleaning small spaces such as an RV bedroom or an area rug.
- Alternatively, you can consider renting a carpet cleaner if you don’t own a carpet cleaner. We’ve seen carpet cleaner rentals at stores like Lowe’s, Home Depot, and even a few Walmarts.
Interior RV Cleaning Checklist
Whew, you’ve successfully deep-cleaned the interior of your RV! Give yourself a pat on the back.
To make future cleanings easier, download our Interior RV Cleaning Checklist. There’s even a blank page if you need extra room or would like to customize your cleaning checklist.
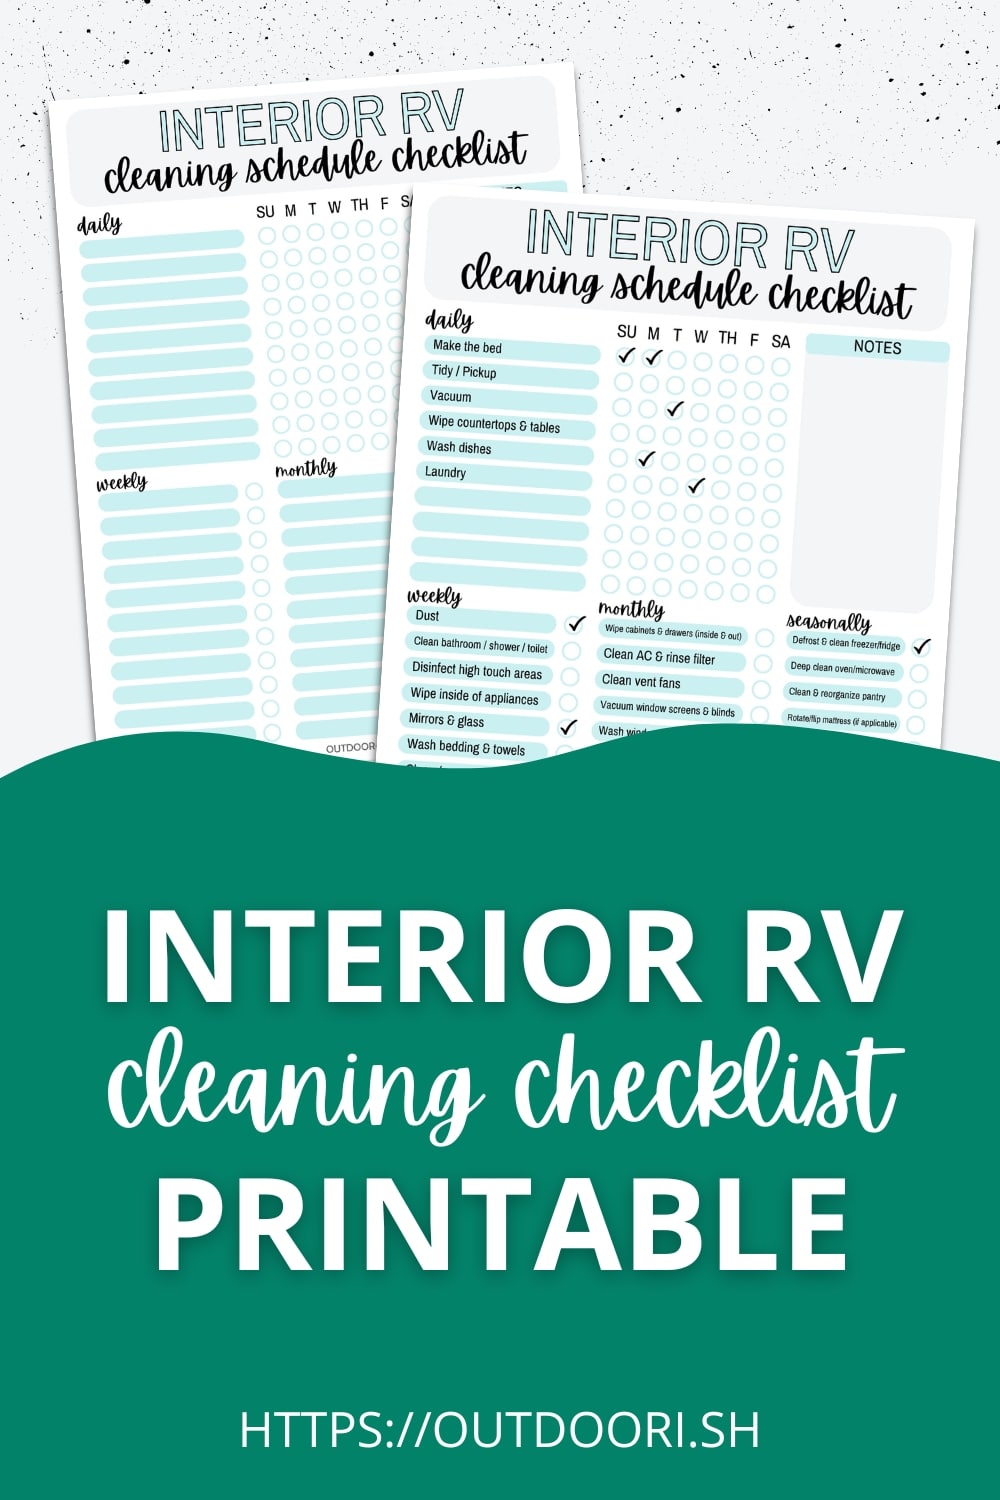
Grab Your Printable RV Cleaning Checklist Below!
Once you subscribe, check your email for your PDF download.
If you have an extra minute, I would love for you to share your RV cleaning tips in the comments below.
Happy cleaning!
Did you find this post helpful? Don’t forget to pin it for later so you can return to it!