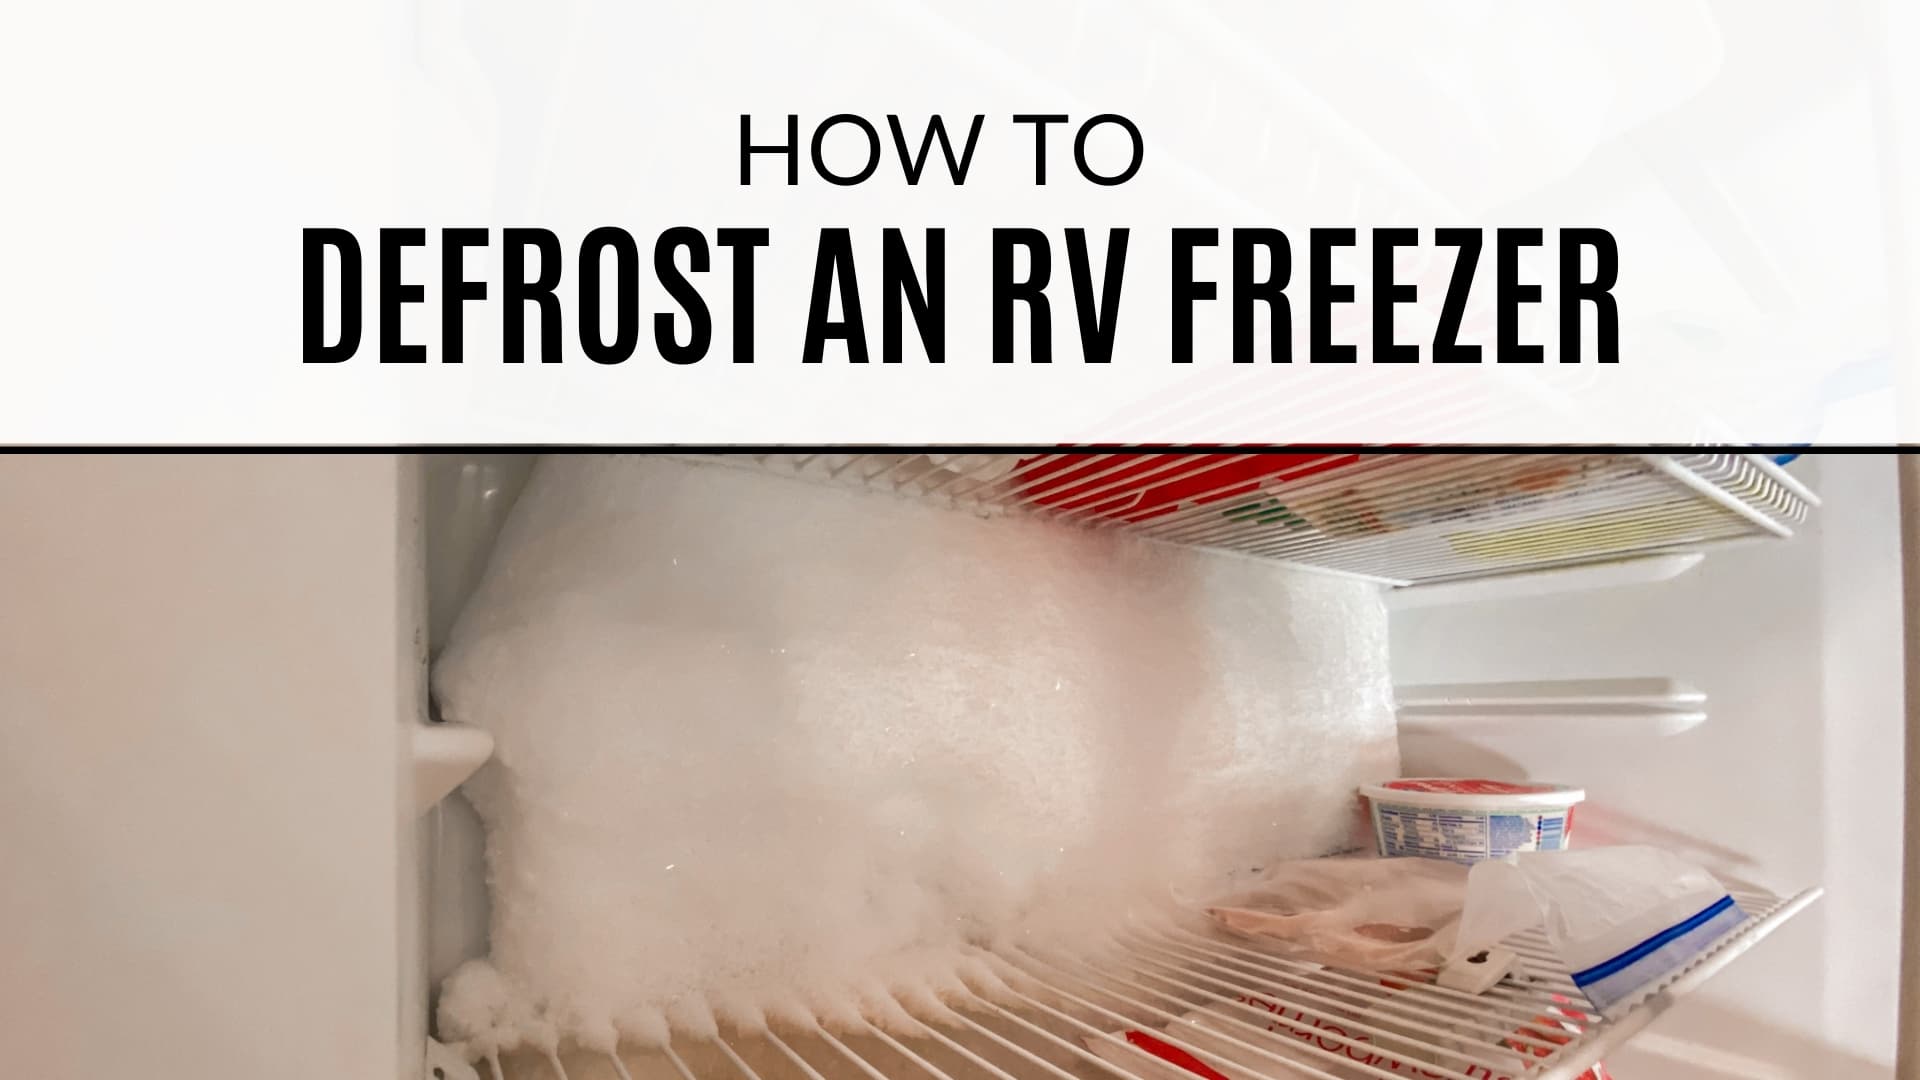
How to Defrost an RV Freezer
Having an RV fridge is a little bit different than having a regular residential style refrigerator. RV fridges are NOT frost free like residential ones so as moisture gets into the freezer things tend to get a bit icy. The back wall of our freezer gets a thick layer of ice that we have to defrost every few months. We’ve even seen some freezers get a layer of ice on the top or bottom too!
The plus side of RV fridges is that they have the option to run off of electricity or propane. This makes them a great option for boondocking (dry camping)! The down side is that they can be a bit smaller than a residential fridge, have no ice maker, and of course the dreaded defrosting of the freezer every few months!

How quickly the ice builds up in your freezer will depend on a couple factors.
- How often you’re opening/closing the freezer door.
- How long you have the door open when getting something out/putting something in.
- How much moisture is in the air in a given location.
If you’ve never defrosted a freezer before, you’re in the right place! Today I’ll be sharing how to defrost an RV freezer. This is the method we’ve used from day one and is what’s worked the best for us. As with anything, do your own research and use common sense (aka don’t hold your hair dryer in one spot and melt the wall of the freezer)!
Table of Contents
Equipment Needed
- Hair dryer
- Lots of Towels
- Bowl or Cup
- Scraper
- Cleaner of Your Choice
- Paper Towels
How to Defrost RV Freezer
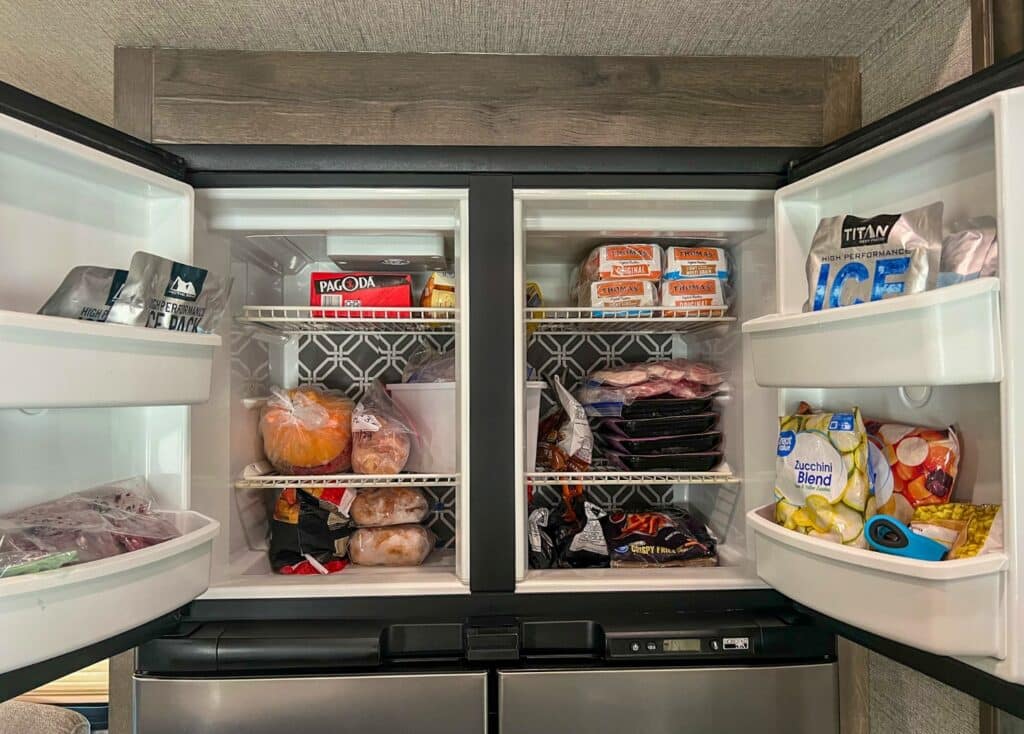
- You’ll want to first start by removing items from your RV freezer. We typically put our freezer items into the fridge. You could also put them in a cooler or insulated bag if you prefer. I like to try to wait to defrost when my freezer / fridge is almost empty and I’m needing to do a grocery trip. That way when I do my shopping I’ll have a nice clean fridge to put our food in.

2. Once all your items are moved out of the freezer, you’ll shut off the the fridge. If you put your freezer items in the fridge like I did, you’ll want to refrain from getting into the fridge until you’re ready to move the items back to the freezer. This process shouldn’t take very long so the food should be okay staying in there for a bit with the fridge turned off.
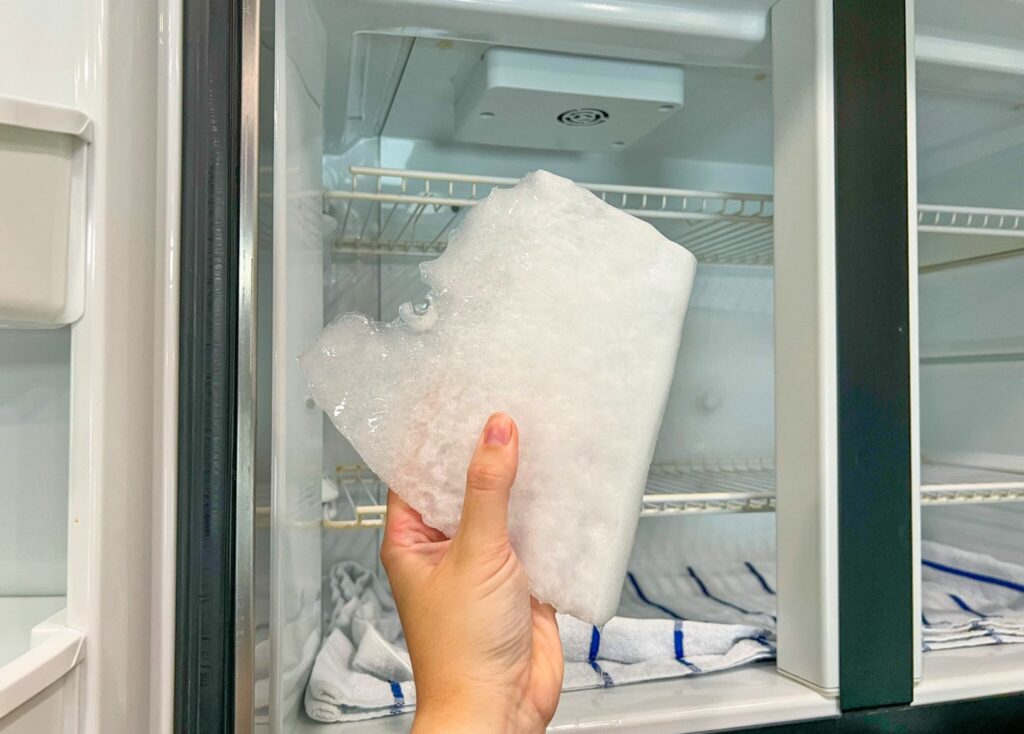
3. Now time for the fun part! You’ll take your hair dryer and start warming up and melting the ice. Make sure not to hold the hair dryer in one spot and move it around. As the ice begins to soften and melt you can usually start prying large chunks off by pulling at the edges.
4. You’ll want lots of towels on hand as this can get a bit messy. You can use the towels to help sop up the ice that has melted. I typically lay a towel down on the bottom of the freezer before I begin defrosting. You can also use a cup or a bowl to to dump out the ice and water into your sink.
5. Once most of the water is out and the ice is completely melted, you’ll want to finish drying out the freezer. Remember that any extra moisture you don’t wipe up will turn to frost when the freezer gets turned back on! I like to take the opportunity to wipe the freezer down with cleaner in case there are any food spills and since I’m already in there I might as well!

6. When your RV freezer is completely dry, go ahead and close the doors and turn the fridge back on. Before you return your frozen items to the freezer, you’ll want to wait until it gets nice and cold. I suggest using a temperature sensor in both your fridge and freezer to make sure they’re at the proper temperature.

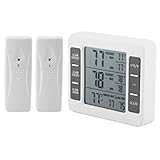
- Package Included: The refrigerator thermometer includes 1 indoor temperature built-in the indoor console and 2 wireless remote sensors, which can monitor 3 kinds of temperature and all displayed simultaneously, MAX and MIN temperature records of past 24 hours for home indoor, outdoor and fridge
- Wide Temperature Range: Outdoor -40°F to 140°F (-40°C to 60°C) (±2°F), Indoor 32°F to 122°F (0°C to 50° C) (±1°C). The wireless sensor thermometers have 100m/328ft (open area) remote range with strong signal Penetration. Can be used it in the fridge, freezer or outdoor, providing double protection to your food safety
- Easy to install and operation: Mount display unit directly to your refrigerator or freezer using the back 4 integrated magnets, hang on wall using keyhole or just let it stand on the table. The wireless sensor can clip on door or hang on the wall. 6 function keys on the main unit and the signal indicator on the transmitter. Just press the corresponding button to turn the alarm on/off, switch Celsius or Fahrenheit, and clear the MAX / MIN record
- Alarm Settings: When indoor or outdoor temperature exceed your pre-set minimum and maximum alarm value, the thermometer will make audio alarm and visual alarms to remind you, allowing you to be aware if adjustments are necessary for your household, wireless indoor/outdoor with audible alarm.
7. Your freezer is cold so you’re good to put your frozen items back into the freezer and you’re done! Pretty simple right?
Quick Tip for Easier RV Freezer Defrosting
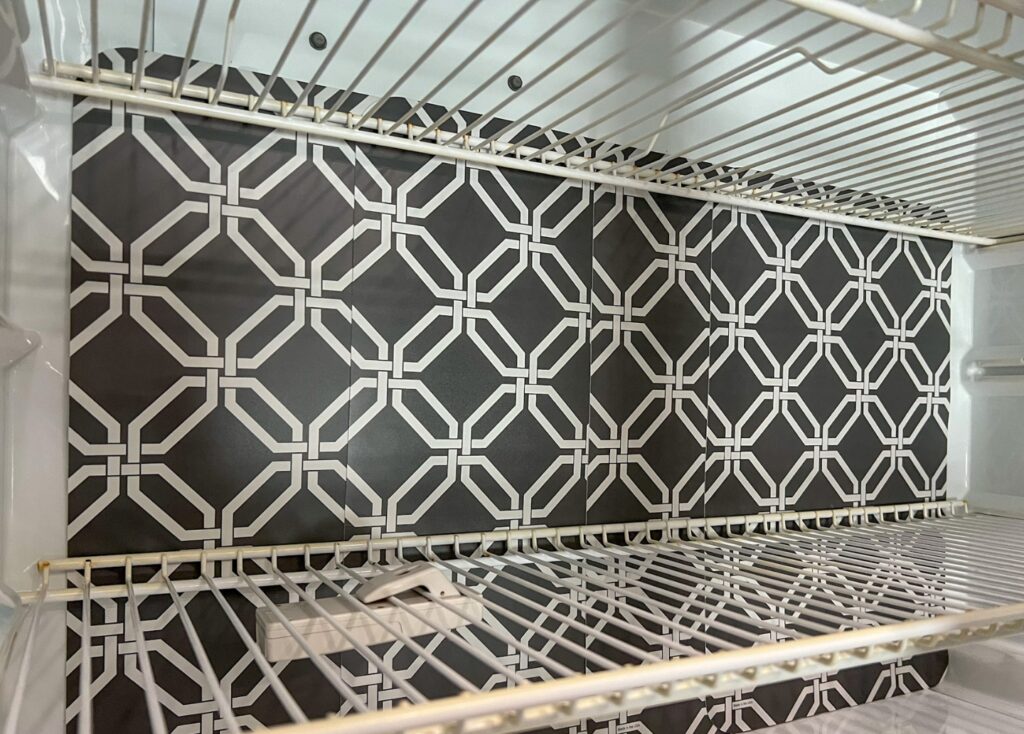
To make defrosting your RV freezer quicker and easier in the future, try lining the back of the freezer with a flexible cutting mat or plastic placemat. This simple hack encourages ice to build up on the mat instead of the freezer wall. When it’s time to defrost, you can easily pull out the mat, bringing the ice with it in chunks, rather than waiting for it to melt or using a hair dryer.
We found some great plastic placemats at the Dollar Tree for just $1.25 each. To install, slide the mats behind the wire racks and position them securely. The racks will hold the mats upright, ensuring they stay in place. This small investment and effort can save you a lot of time and hassle during defrosting.
Additional RV Freezer Tips
- Wait to defrost your freezer until it is mostly empty. Doing it with a fully stocked freezer and fridge will just make life more difficult.
- Avoid storing fresh/warm foods in open containers. These types of items give off lots of water vapor.
- Limit time the doors are open.
- Cooling efficiency depends on air circulation- so pack items loosely and avoid shelf liners.
- Use a sensor to monitor the temperatures of both your fridge and freezer.
- The coldest part of your freezer is typically the bottom left (you’ll thank me when your ice cream doesn’t melt!).
We hope this helps prepare you to defrost your freezer! Have you defrosted your RV freezer a different way? If so, we’d love to know how you do yours!


This is such good information! One of our must haves was a residential fridge in ours so we haven’t ran into this yet (not sure if we will?) but if we do at least I have this awesome guide!!
Thanks Jodie!! We got a great deal on our rig so we didn’t have much choice when it came to the fridge – it’s actually pretty spacious for an RV fridge. I do miss having an ice maker though 😱 too many ice trays in this freezer lol 😂
This is so helpful Megan! I have people ask me this and I never know what to tell them because we have a residential fridge. Now I will be sending them to this! 🙌🏼
Yayyyy! Send them my way 😂🙌🏼 Always happy to help out a fellow RVer.
Where was this when I needed it last week!? Such a great post – thank you!
Hahaha oh no!!! I wished I had known!
Do you realize how BADLY I needed this?!😂 This was super helpful and informative! I didn’t even know where to start!! Thank you!!
LOL 🤣 I’m so glad you found it helpful!
We left the freezer door slightly open the other day and woke up the next morning to all the ice build up. This would have been super helpful have I seen it earlier. Thanks Megan!
Oh no! 🤦🏻♀️ Too bad I didn’t have this out sooner!
I had no idea how to do this, thank you for such great advice when we need to do this to our freezer!