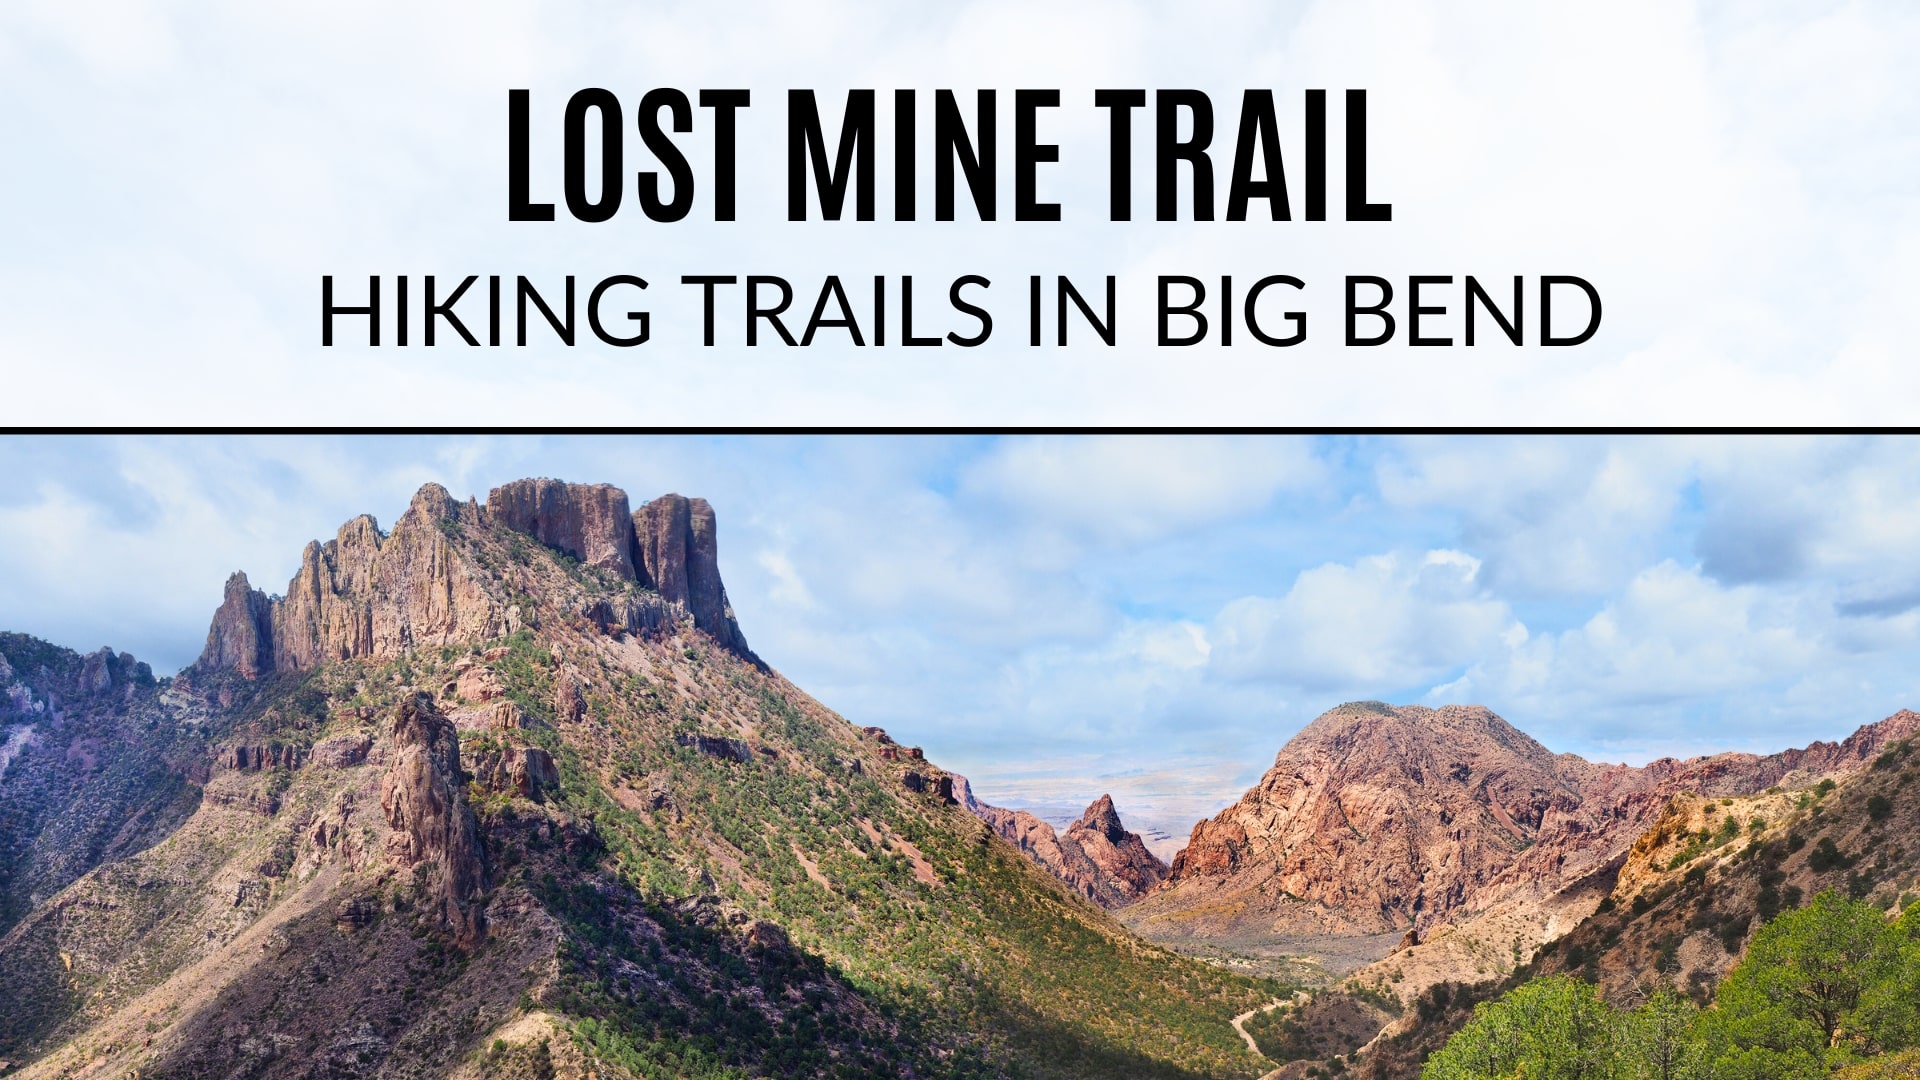
Lost Mine Trail Big Bend National Park
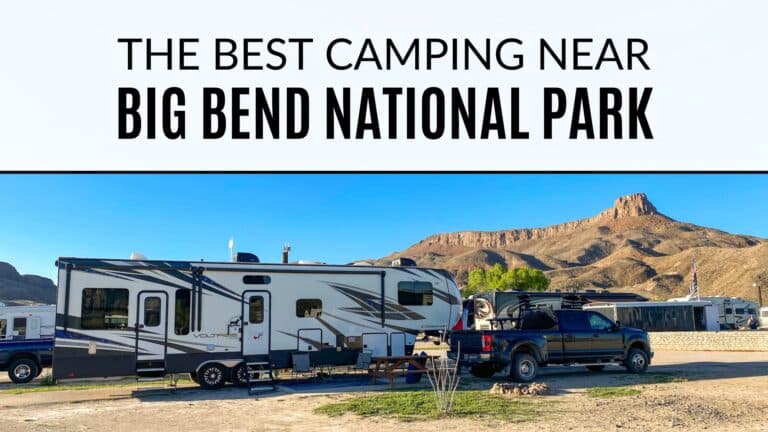
Big Bend National Park offers some of the best hiking! With deserts, mountains, canyons and forests, there are a variety of hiking options to choose from. The Chisos Basin, located centrally in the park, has some of the best hiking in the park (in my opinion). If you’re planning to do lots of exploring in this section of Big Bend or just want a central location to everything in the park, I’d suggest checking out the Chisos Basin Campground or the Chisos Mountain Lodge.
On our first trip to Big Bend in 2018, we hiked the South Rim trail which we still think has the best views in the entire park. It was everything we hoped it’d be and more: inspiring, breath-taking, and exhausting. With an over 2,000 foot elevation gain and 13 miles the South Rim took us nearly the entire day to hike and we were exhausted by the end of the day. This time we had our pups to consider. Since dogs are not allowed on the trails in the national park, we needed to take into consideration the amount of time they’d be left alone in the RV. We wanted to find a trail that had similar vistas and views but without the long mileage. Lost Mine trail seemed to be just what we were looking for!
Lost Mine Trail is a moderately rated out-and-back hike that is great for hikers of all capabilities. It’s sure to keep you captivated and intrigued all the way to the top where you’ll be wowed by the spectacular views!
Table of Contents
Lost Mine Trail Hiking Stats

Directions to the Lost Mine Trail
To get to the Lost Mine Trail parking lot and trailhead you’ll take Gano Springs Road (which is a continuation of Route 12 west of Panther Junction) to Basin Junction Road. About 5 miles along Basin Junction Road is where you’ll find the parking lot for the Lost Mine Trail.
If you continue past the Lost Mine trailhead parking lot, the Basin Junction Road will continue about another 1.2 miles to the Chisos Basin Lodge and Visitor Center. Several other hikes begin in this area including: Emory Peak, South Rim, and the Window. Grapevine Hills trail is also a short drive away.

Parking at the trailhead is extremely limited with maybe about 20 spots or so. This is one of the more popular hikes in the park so the parking lot fills up quick! There are also no restrooms at the trailhead (there are restrooms available at the Chisos Basin Visitors Center) so plan accordingly!
We arrived before 8 am on a Thursday and the lot was already completely filled. We were determined to do this hike so we parked at the Chisos Basin Lodge and walked 1.2 miles up the road to the trailhead (which was pretty much straight uphill I might add). The road was under construction and closed to traffic during certain hours so we didn’t have to walk with lots of cars going by (just strange looks from the construction workers). I 100% do not recommend doing this as the road to the trail head is pretty narrow with not much of a shoulder to walk on in some sections. Plus, by the time we had reached the trailhead we were already worn out from the hike we just did to get there! Doing this added a total of 2.5 extra miles to our hike. So, instead of hiking 4.8 miles we ended up hiking over 7!

The Legend of Lost Mine
If you’re a curious person like myself, you may be wondering where Lost Mine Trail got its name from. No one is quite sure whether the story is one that’s just been passed around the campfire or if it’s actually based on truth.
According to the signage at the trailhead, “Spanish explorers discovered ore here on their quest for silver and gold. They enslaved the Chizo Tribe and forced them to work the mine, blindfolding them to keep the location of the mine secret.” Well, the tribe revolted, killed the Spanish and sealed the entrance to the mine. No ore bearing rocks have been reported in this area. Regardless, it’s still a fascinating story that continues to remain a legend.

Hiking the Lost Mine Trail
Before you head out, make sure you have plenty of water and some snacks. You’ll also want to take note of the wildlife in the area. Black bears and mountain lions inhabit this area so make sure you know what to do in the event that you come across one! The only wildlife we saw along our hike were birds and a few deer.
Most of the trail consists of dirt and rocky steps. You could definitely get by with just sneakers but hiking boots are recommended. The trail climbs immediately from the beginning and stays pretty consistent throughout the first section.

As you approach the first mile (marker 10), you’ll reach a rocky saddle which gives you your first taste of the views you’ll see above. At this first mile, you’ll have views of Casa Grande and Juniper Canyon below. We stopped here for a quick water break and to take in the scenery. If you’re short on time, you can hike to this point and turn around if you wish (but I promise the views at the top are even better!).

The remainder of the trail from this point climbs pretty steeply with several switchbacks and rocky steps. When you’re almost to the top, the trail levels out abruptly and continues along the ridge. From here you’ll get panoramic views of the Pine Canyon and Sierra del Carmen in Mexico.
The nice thing about the area at the top of the trail is how large it is. We lucked out and had the whole thing to ourselves, but even on a busy day it would be super easy to spread out and have your own little area to kick back and enjoy the views. It was also extremely windy at the top! I’m sure that’s dependent upon the time of year. Make sure to hold onto your hats folks!

We were on a bit of a time crunch so we didn’t spend as much time up at the top as I would have liked. However, we still got to enjoy our picnic lunch we packed in our backpack cooler overlooking the incredible views which, was totally worth it.
When you’re finished enjoying the views and are ready to return to the parking lot, you’ll follow the same trail back that you took up. For us the descent is usually quite a bit quicker. Just be careful and watch your footing!
As we were about a mile from the trailhead, the sole of Philip’s hiking boot fell off. All we could do was laugh. Luckily we weren’t too far and he said it wasn’t too bad. I guess we should bring some duct tape for emergencies next time!

Happy hiking!
More Hikes in Big Bend National Park
- Balanced Rock (Grapevine Hills Trail)
- South Rim (Chisos Basin)
- Window View and Window Trail (Chisos Basin)
- Santa Elena Canyon Trail
- Chimneys Trail
Big Bend NPS Hiking Information


This was probably our favorite hike in Big Bend! I’m so glad y’all decided to do this one and got to enjoy its beauty!
Yes!! Thank you for the recommendation. We loved Lost Mine!
Wooo, I am definitely adding this to my list of activities for Big Bend. I think I could handle it as long as I don’t have to do that hike from the parking lot!
Oh yeah you could totally do this one! Man that walk from the parking lot wore me out before we even started the trail 😂 Definitely wouldn’t suggest walking along it when it’s busy.
That look out tho!!! See what I mean! This place gets better and better😍
Doesn’t it look amazing?!
I still can’t believe he lost the soul of his shoe on this hike! So crazy!
I’ve heard so many great things about the Lost Mine Trail! Great guide!
These posts are always so informative, Megan!