
Welcome to our blog!
We work hard to chock our site full of both useful and entertaining content. Whether you RV full time, part time, or not at all, we’re sure that you’ll find something that peaks your interest! So go ahead and take a look around. We’ll see you on the road. 👋
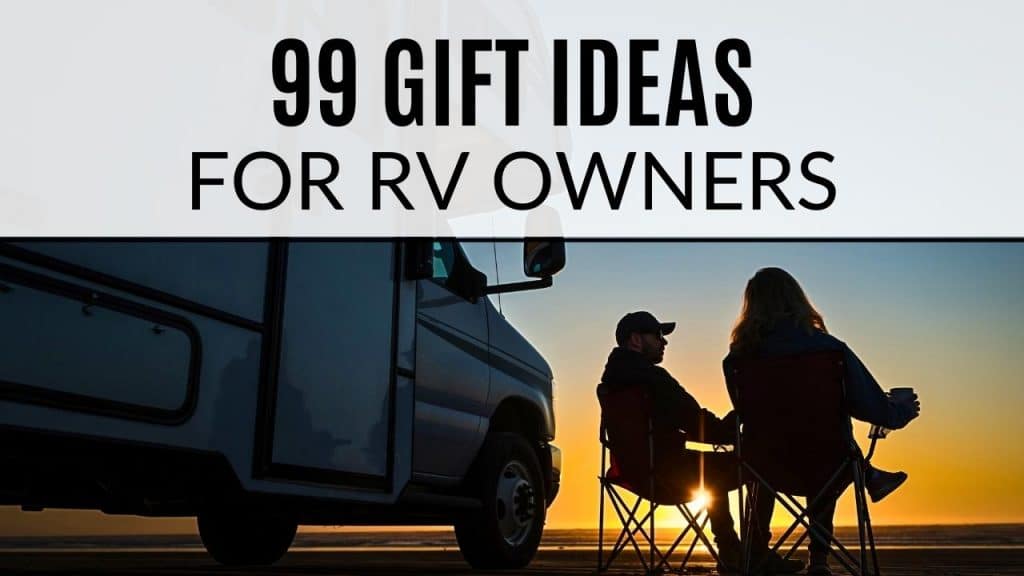
99 Gift Ideas for RVers
Looking for gift ideas for RVers? You’re in the right place! If you have a friend…
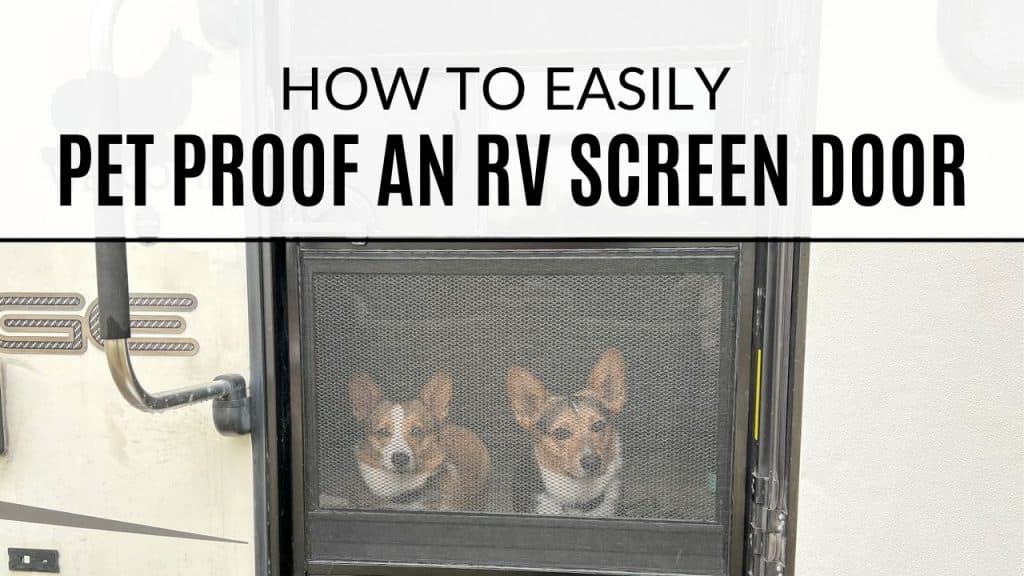
How to Easily Pet Proof Your RV Screen Door
It’s essential to pet-proof your RV screen door to avoid unexpected mishaps and damage. Luckily, there…
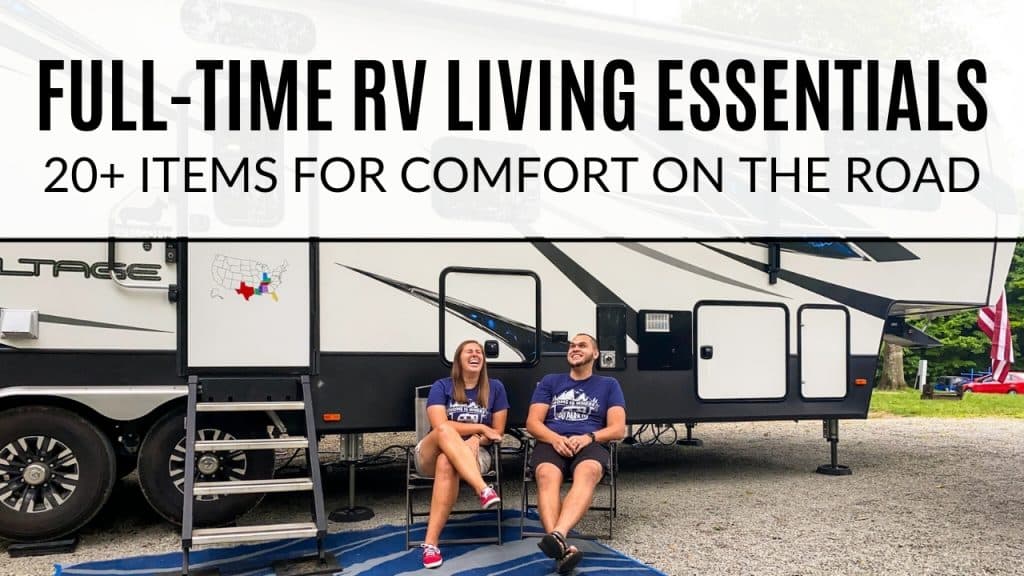
20+ Full-Time RV Living Essentials
Whether you’re a seasoned full-time RVer or a newbie hitting the road, having the right gear…
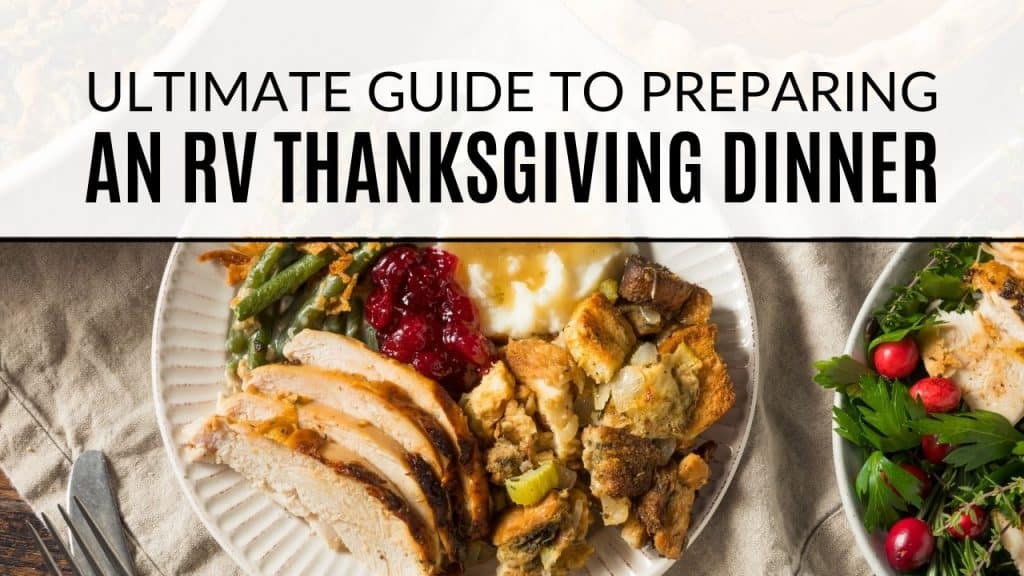
Ultimate Guide to Preparing an RV Thanksgiving Dinner
Thanksgiving is a time for gathering with loved ones and enjoying some delicious comfort food. But…
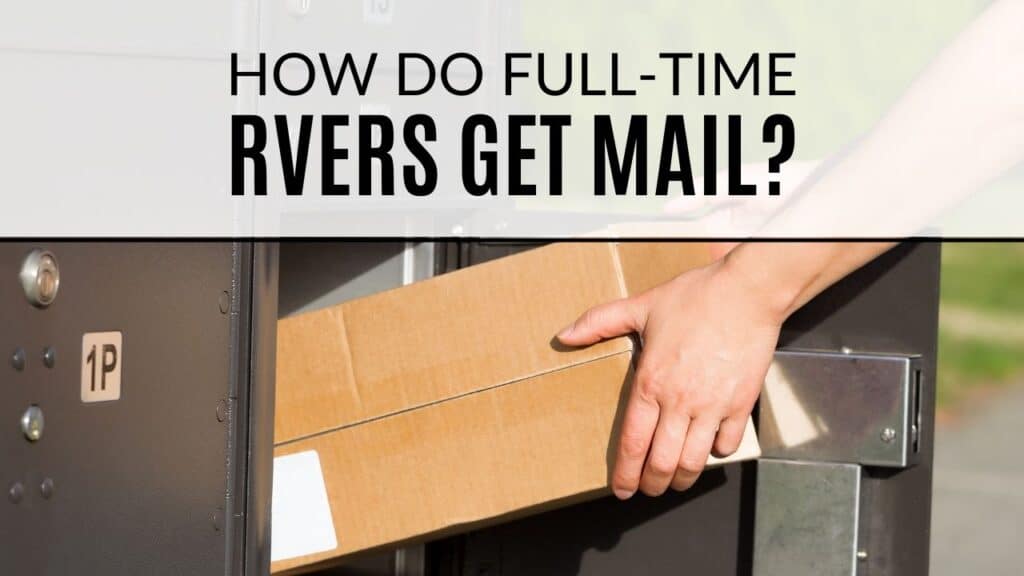
How To Get Mail When Traveling In RV
For full-time RVers, managing mail and packages can be a challenge when you’re constantly on the…
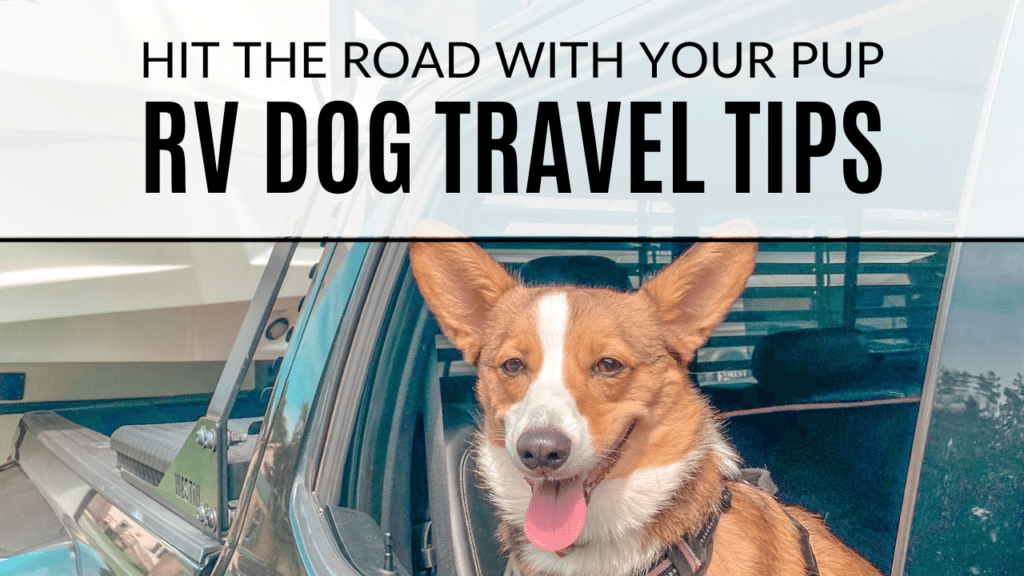
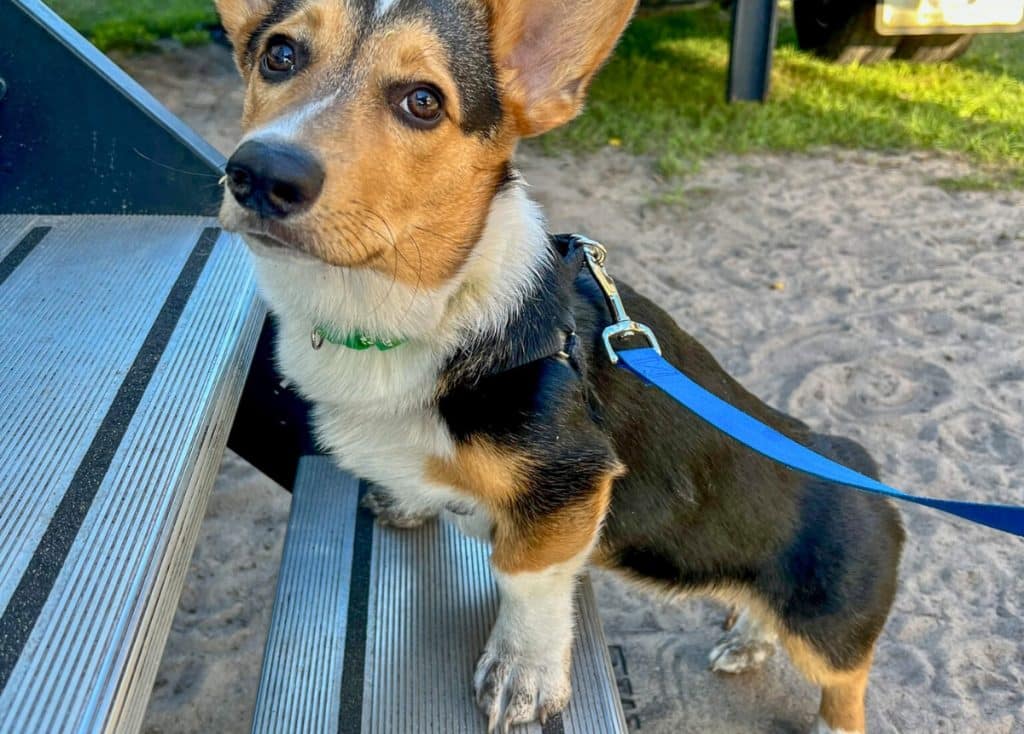
Hit The Road With Your Pup – Tips For RV Travel With Dogs
Traveling in an RV is an exciting and adventurous way to explore the country, and if…
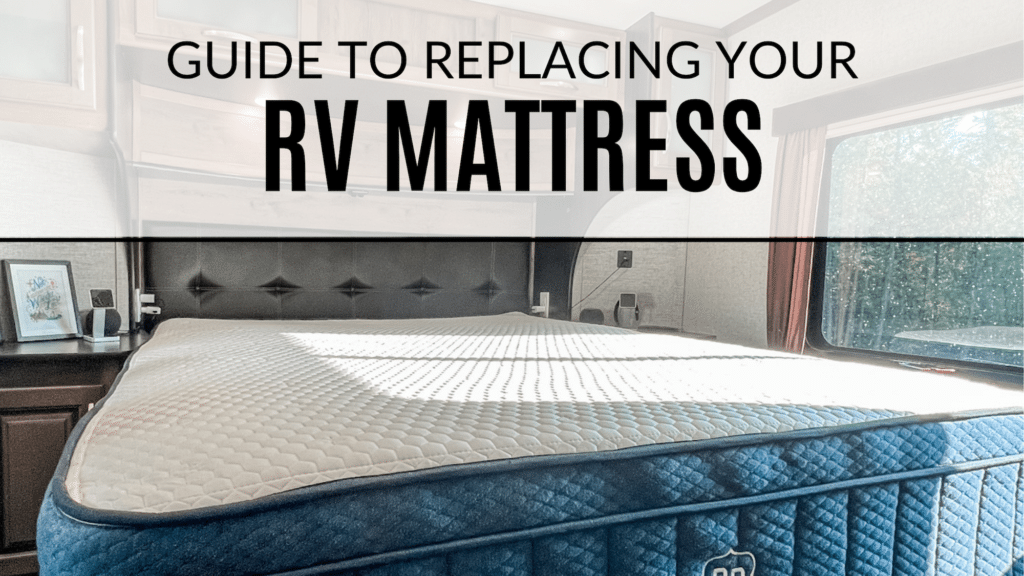
Replacing Your RV Mattress
If you’re an avid RV camper, you know how important it is to have a comfortable…
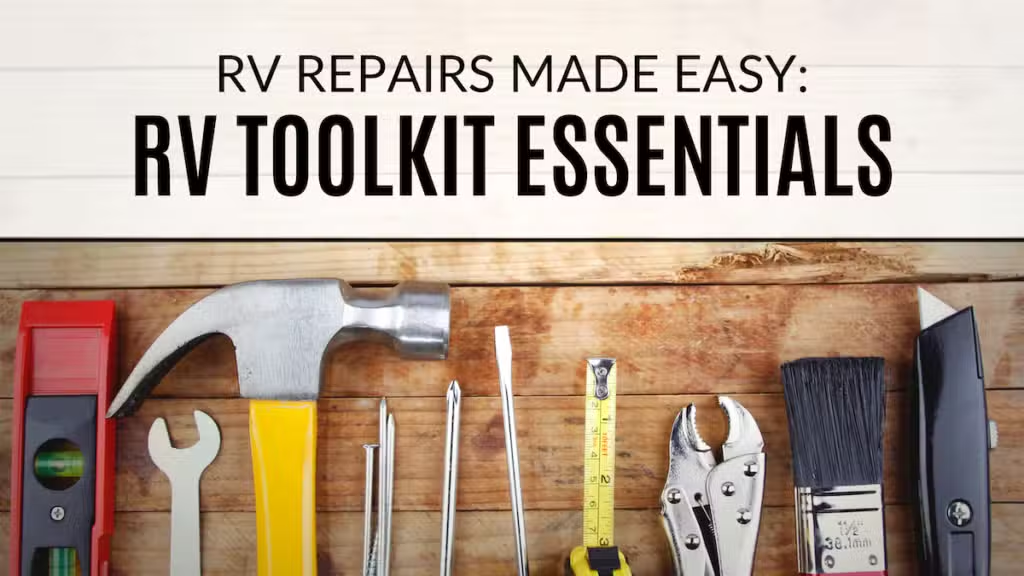
RV Toolkit Essentials
RVing can be an exciting and rewarding experience, but it also requires some careful planning and…

Megan & Philip
We are two young adults traveling around the United States in our RV and working full time along the way. Join us for a look into our adventures.