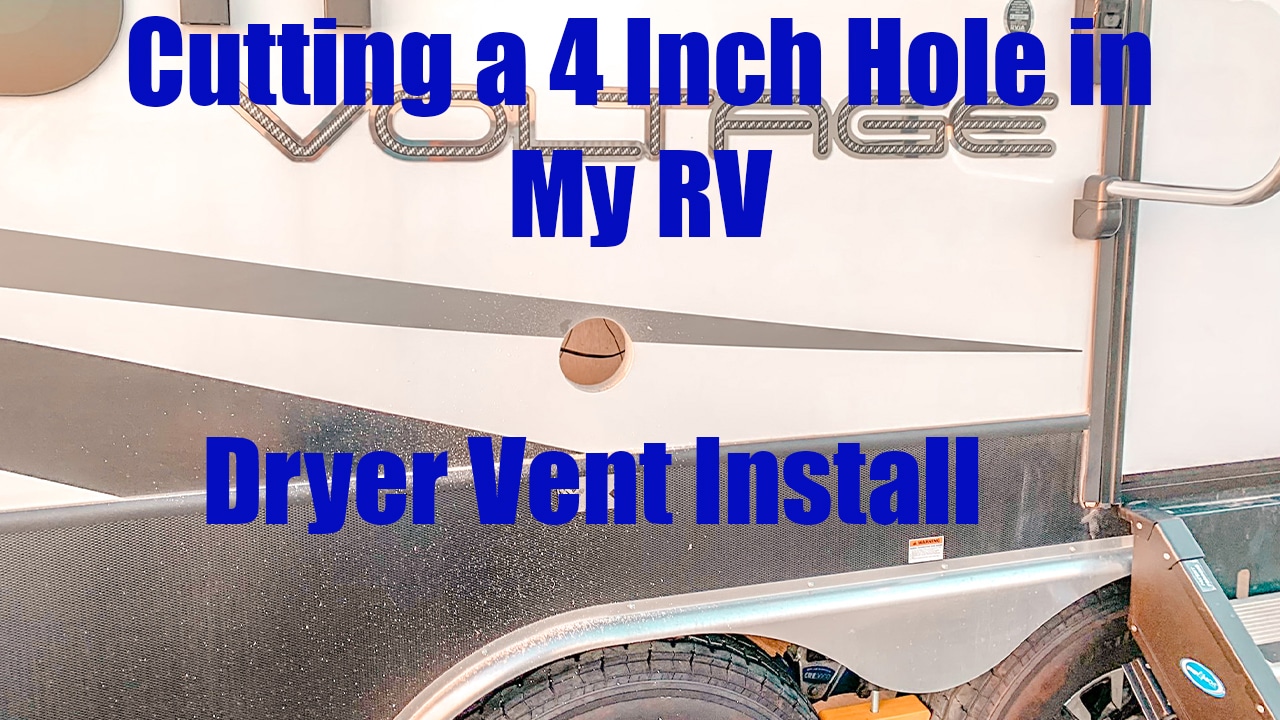
Cutting a 4 Inch Hole in the Side of My RV – Installing a Dryer Vent
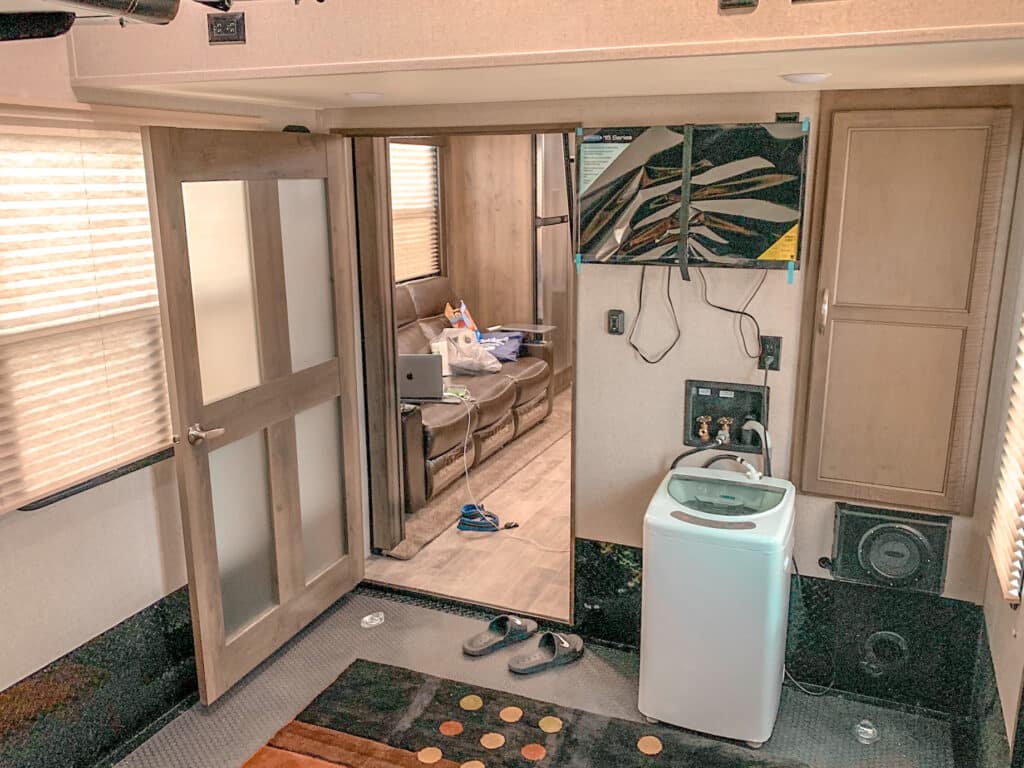
After months of using a portable washer and a spin dryer (wrings out excess water and then you hang dry) and/or taking our laundry to the campground laundry room we decided to get a Splendide vented washer/dryer combo (the 2100XC to be exact). Our toy hauler came equipped with washer hookups but, unless we wanted to go the ventless route, we would need to cut a 4 inch hole into the side of our RV 😳😬🥴
Sure, we probably could’ve paid someone to cut the hole for us and install the dryer vent, but we don’t like to pay people when we can do it ourselves 🤷🏻♀️ Aside from one little mishap (which we’ll get to in a bit), everything went pretty smoothly.
Before you cut through anything, you’ll of course want to know what you’re cutting through. ***Disclaimer: It’s ultimately up to you to do the research and figure out what is behind your wall. We are simply explaining the process of how we cut the hole in our RV in order to install our washer/dryer. It’s up to you to decide if you feel comfortable doing this project yourself.
Since we are cutting through an RV wall, we know that we will be cutting through a little bit of wood, styrofoam, and then the fiberglass on the outside. You’ll want to keep an eye out for metal and wood studs, electrical, plumbing and possibly even air ducts. Use your stud finder to check for studs in the wall so you know where you are able to put your vent.
Take your drill and get your drill bit into the wall. We first hand sawed it just so that we could verify the area we were drilling into was ok. Once you verify that you’re all clear and good to go, you may want to send a helper outside to make sure the other side comes through.
So if you watch the video, at this point you’ll see that we were coming in a little low. It actually came through the metal skirting instead of coming through the fiberglass 🤦🏻♀️ moral of the story MEASURE, MEASURE, MEASURE. Luckily, this was a minor mistake that we were able to easily fix 😅
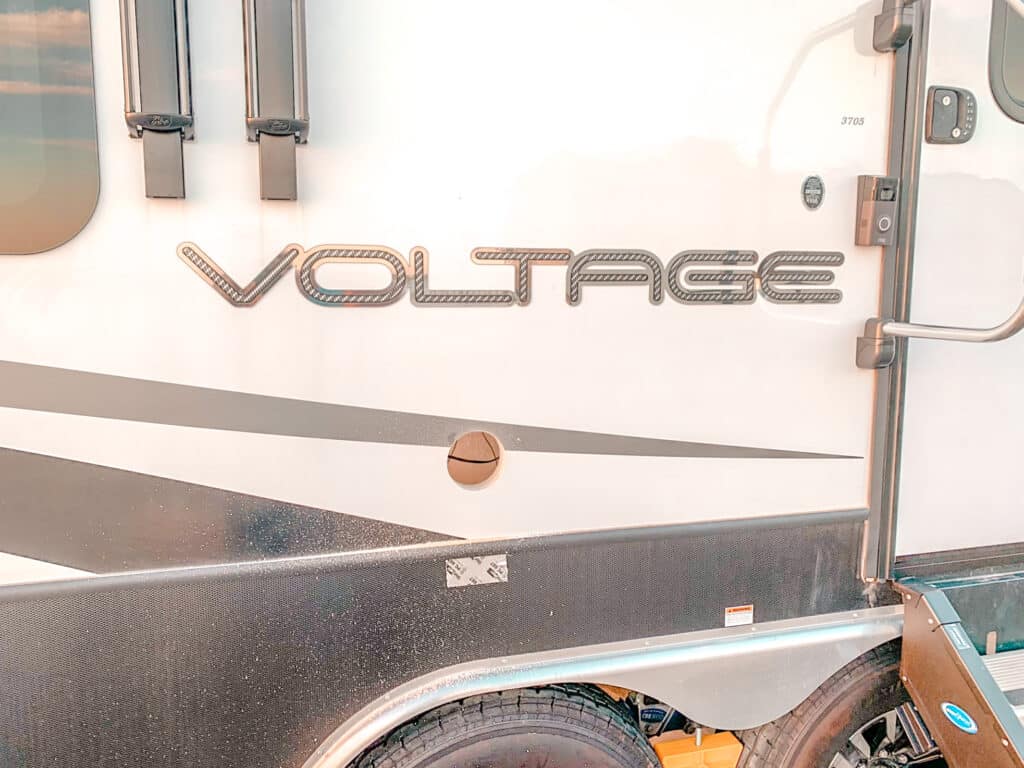
We remeasured and figured out the correct spot to drill, once your drill bit comes through the other side, you’ll want to head outside to finish the cut from there. You may need to clean up your cut in order for the vent and vent hood to fit properly against the side of your RV. Once the vent is in and you get the screws in as well, you’ll apply a mold and mildew free silicone around the outside of the vent hood so it’s water tight around the outside of the vent.
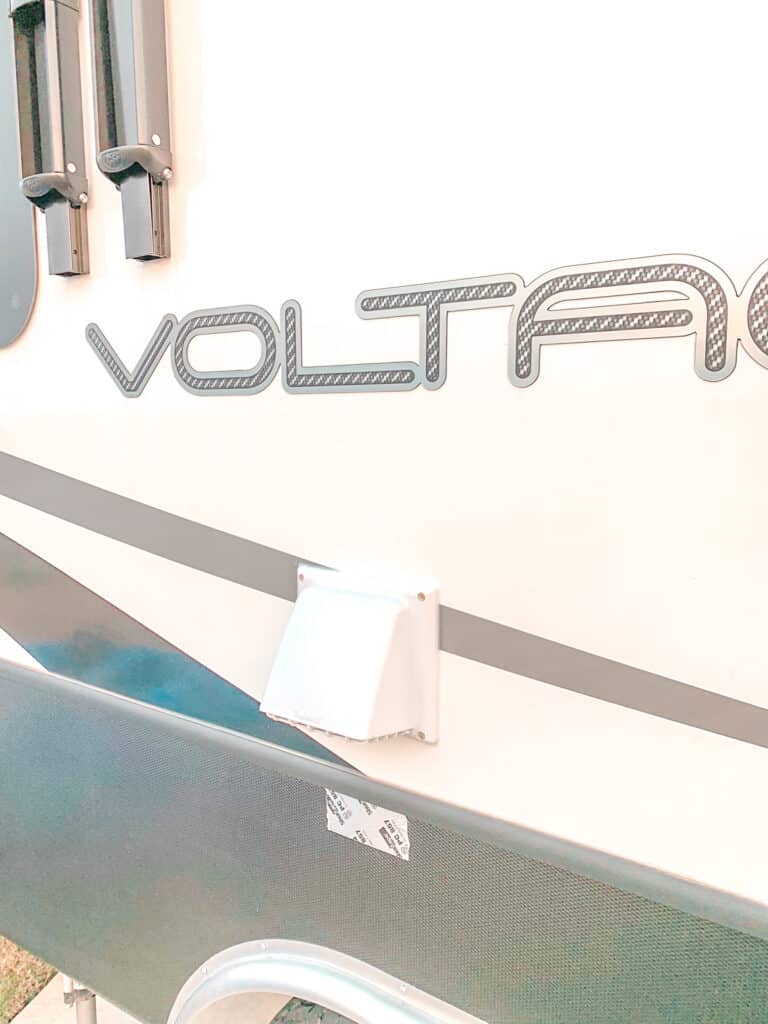
We love our washer/dryer combo unit and it is probably one of my favorite additions to the RV. Plus it’s convenient to be able to do laundry whenever!!

What do you think? Is this a project you would tackle on your own? Let us know in the comments below if you have any questions about what we did!

This post contains affiliate links. If you make a purchase through one of our links we may make a small commission at no extra charge to you. Thanks!


Or toy hauler has a half bath, so we are looking at the wall behind the machine to see if we can poke through there and run it between the bathroom and the living room tv. Then poke it out the side. Have you seen anything like that?